ENTRYWAY MIRROR MAKEOVER
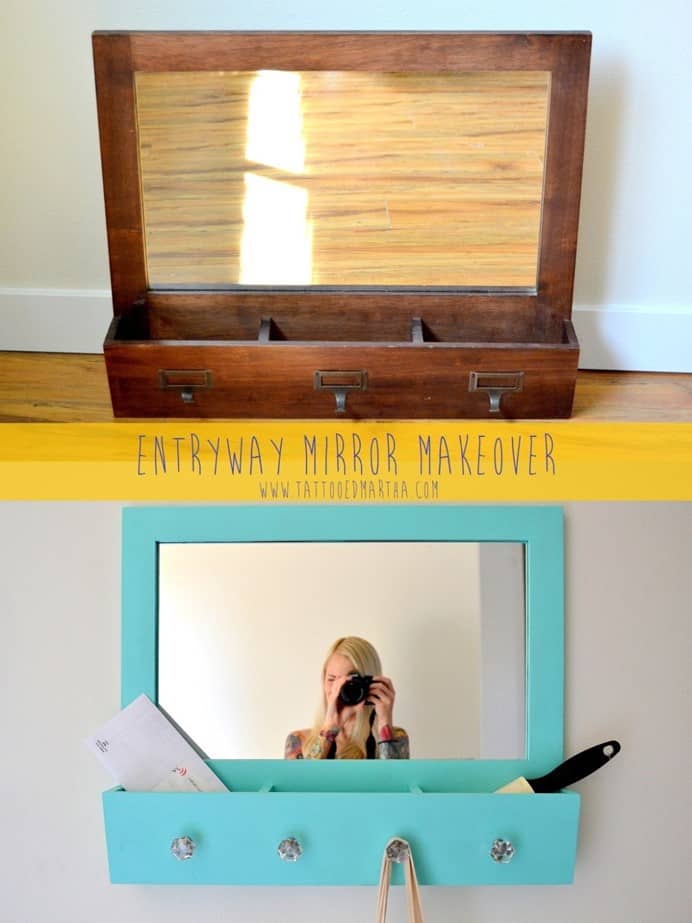
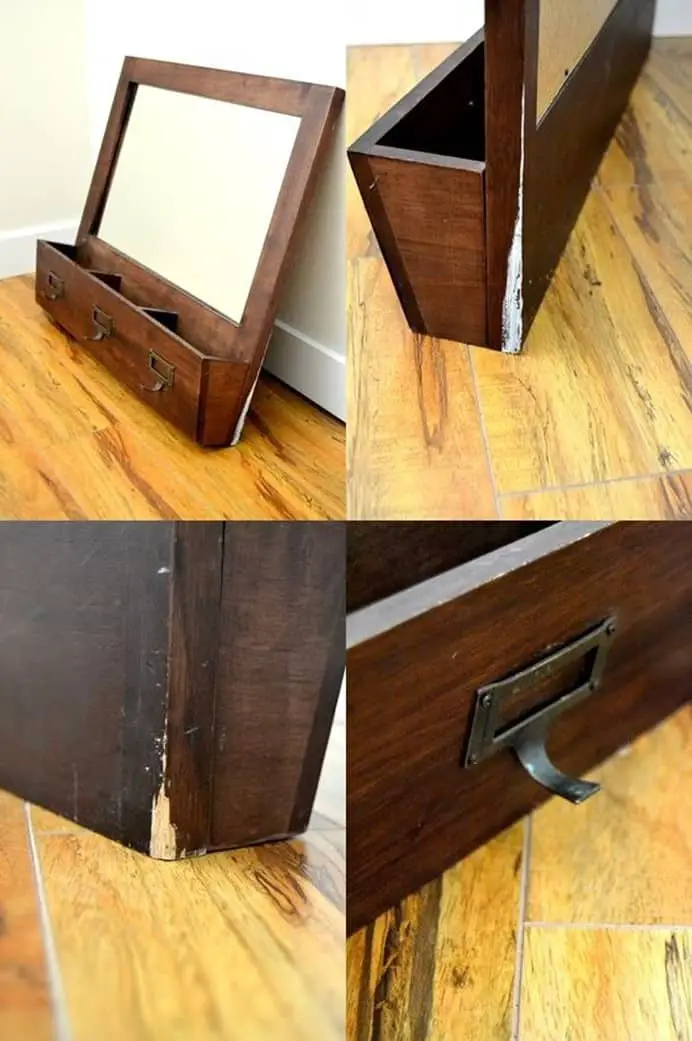
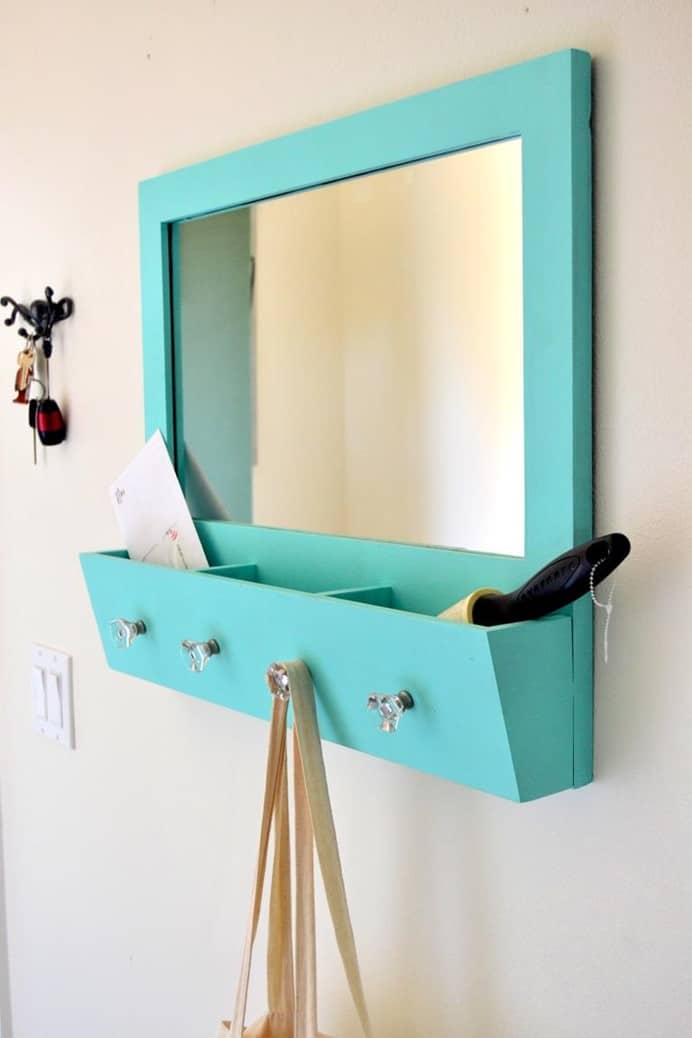
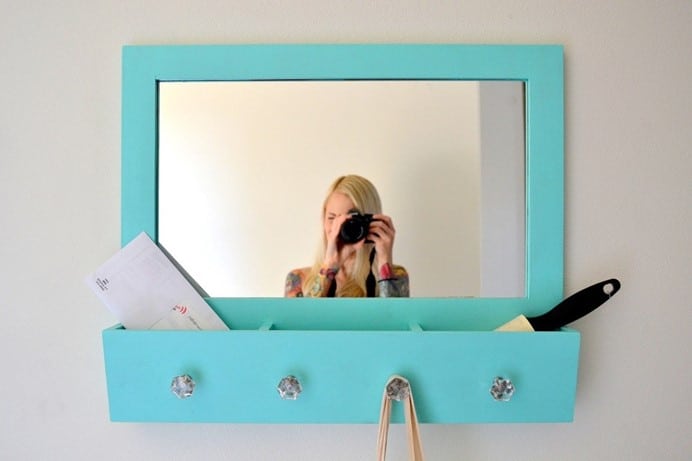
Sometimes a simple DIY project can turn into something much more complicated than you anticipated. This mirror turned out exactly like I envisioned, but it took some creativeness and MacGyver-like skills on my part to make it all happen. See the transformation from a beat up $10 thrift store find to a fresh new entryway mirror organizer!
Supplies:
Entryway organizer mirror – I scored mine for $10 at Goodwill which is a steal compared to the cost of brand new. I’ve seen anywhere from $80 to $300!
Sandpaper – I used 60 grit and 120 grit
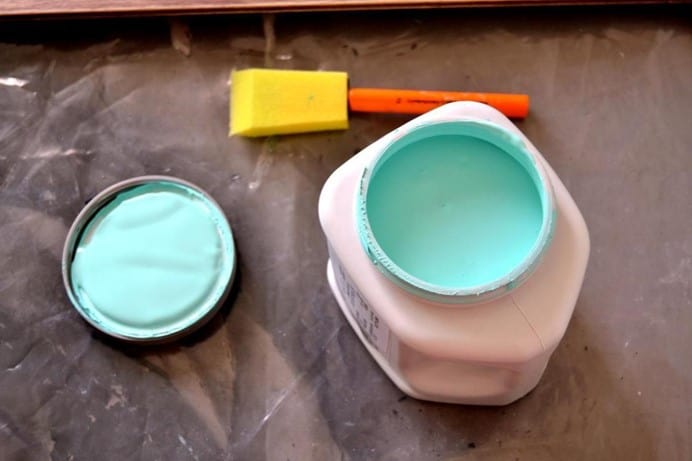
Acrylic paint or spray paint – We had a quart of this light blue leftover when we picked up paint samples for the living room ($6 from Sherwin Williams)
Knobs – Home Depot
Drill and drill bit
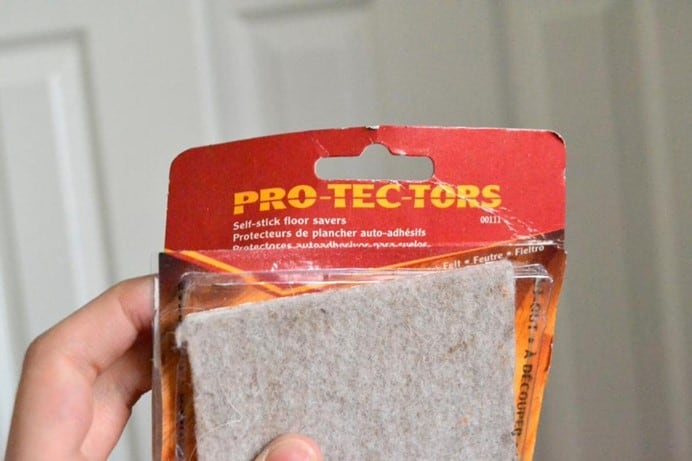
Floor protectors for moving furniture – sounds strange, but you’ll see how those came in handy very soon!
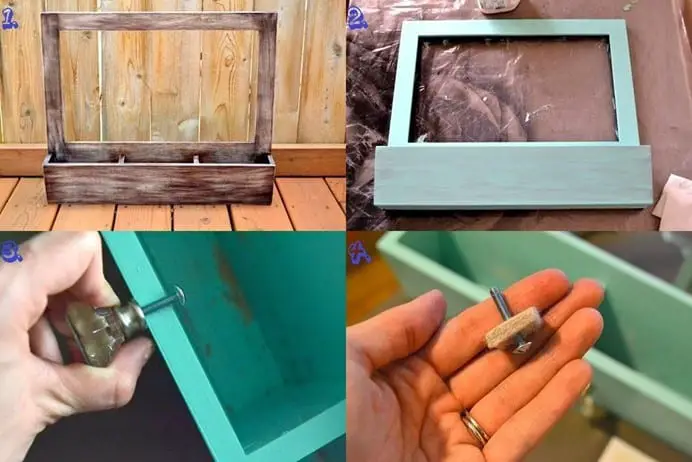
(1.) The mirror had some bent metal hooks that I removed and had a few scuffs that needed buffed out, so I started with a 60 grit sand paper and then finished with 120 grit to smooth it out. This also helps the paint cover a bit better. (2.) I used a rag and wood floor cleaner to wipe down the mirror of any dust and then applied a coat of paint. It was a little difficult to paint inside the shelves, but I didn’t sweat it too much since you can’t see into them at the level we were hanging it. I applied two more coats of paint and then the fun began…
I’m not sure what kind of wood this thing is made out of other than the REALLY strong kind (I’m such a girl). I thought I could drive nails through where I wanted to screw the knobs in, but after I got the nail halfway through I realized I couldn’t get it back out! I had to use the claw on the hammer to remove it which resulted in dark scuffs on my fresh paint job. I had to repaint over the scuffs, let it dry, and then found the drill! I drilled holes the same size of the knob screws and then went about screwing them in.. here comes the next problem!
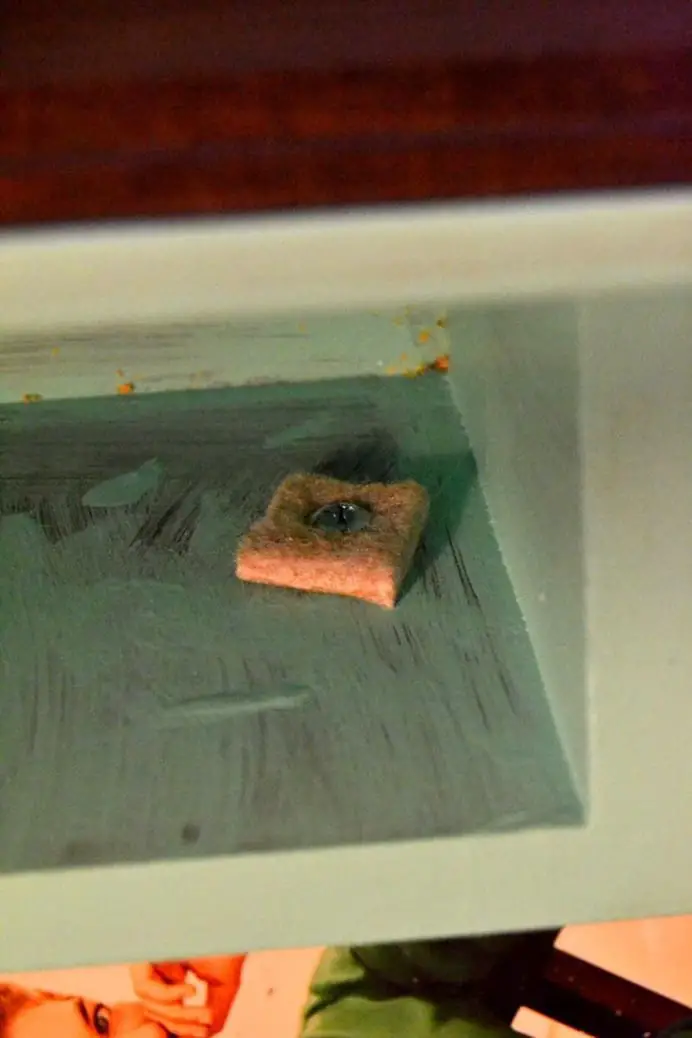
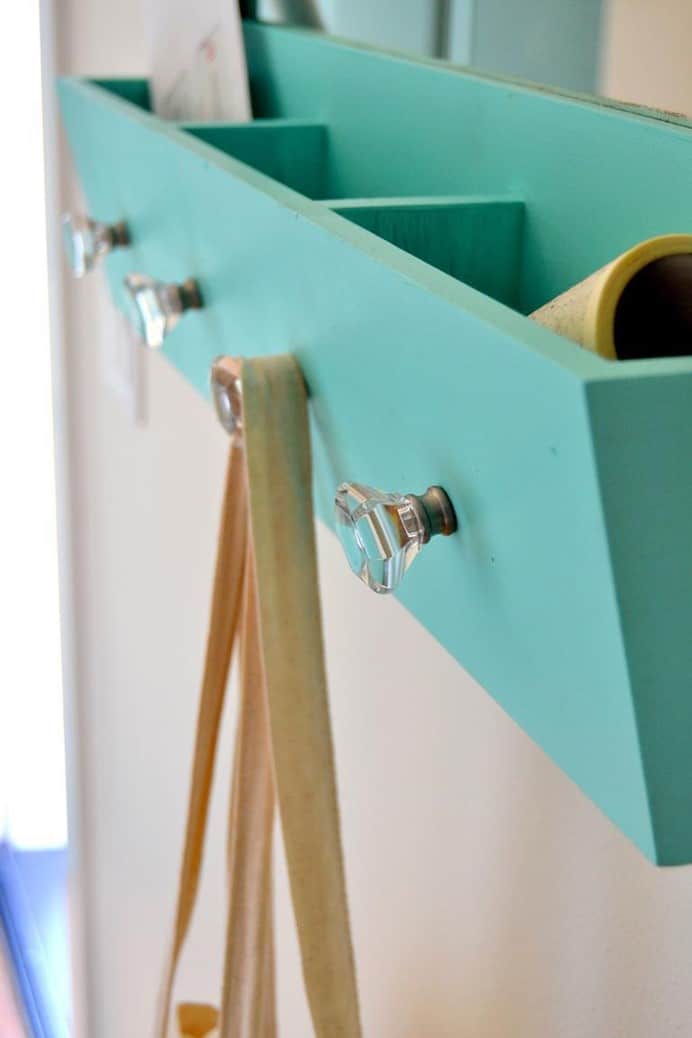
(3.) The screws were longer than the width of the shelves, leaving about ¼ of an inch of space. I could have maybe left it, but considering this mirror is made for function and not for looks, I didn’t want our stuff to be falling off of wobbly hooks. I dug through our junk drawer (one of them) and found floor protectors that were the perfect width. I cut four small squares and drilled a hole into the middle of each one. (4.) I then put the knob screw through the floor protector squares and finally through the shelves of the mirror to attach the knobs. The furniture protectors helped with getting the knobs screwed on tight so they would be sturdy enough to support the weight of coats and purses.
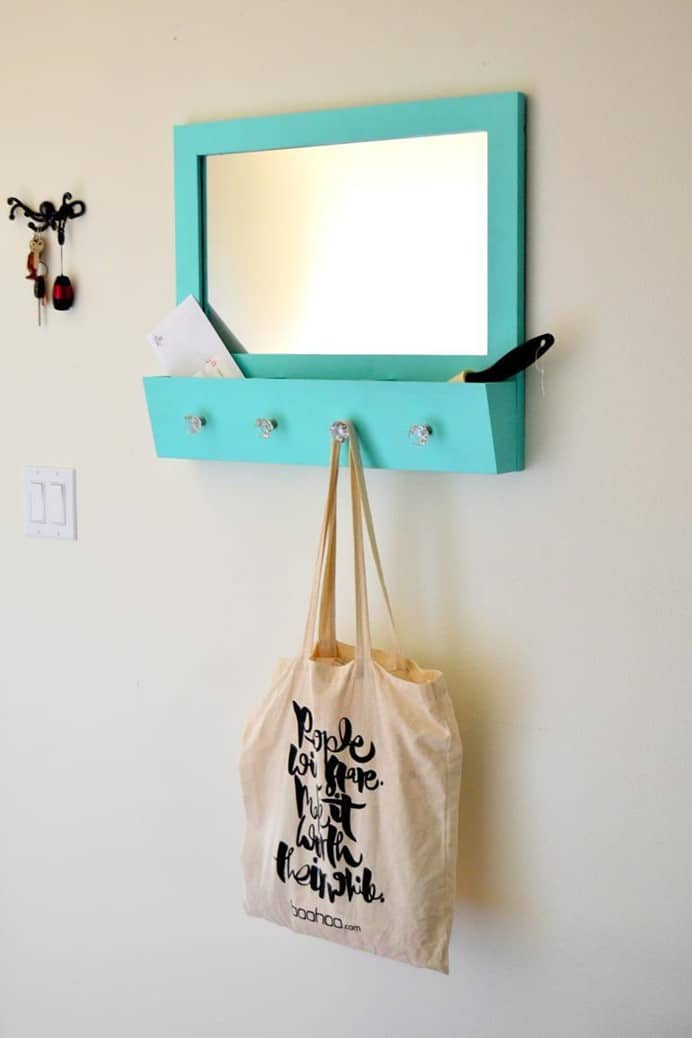
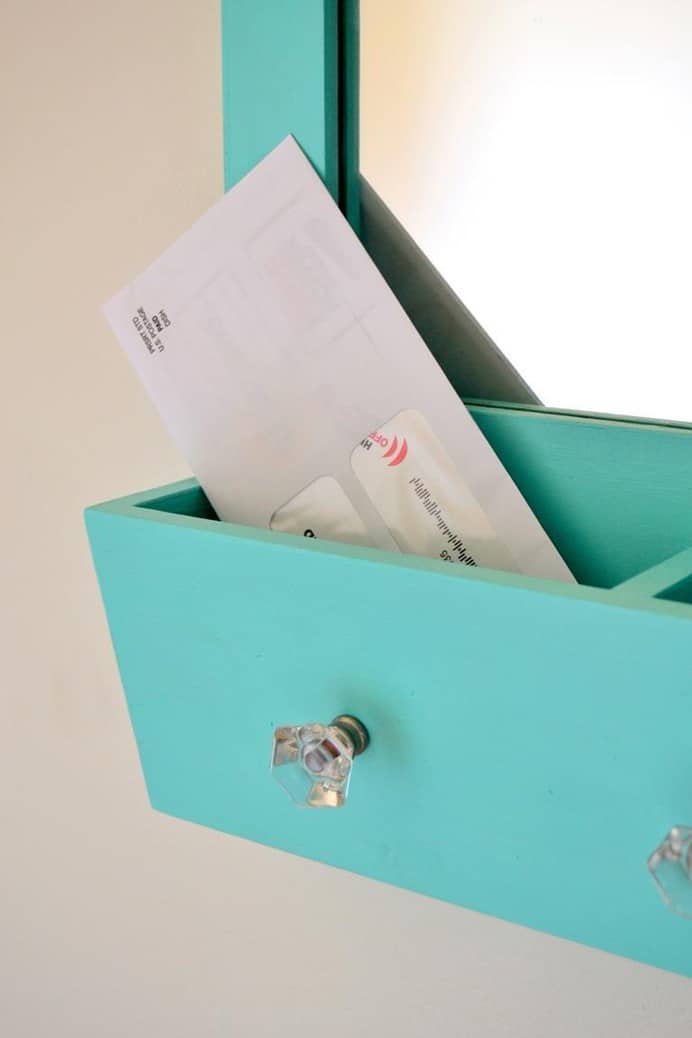
After that we hung it up and even though that took TWO tries as well, the end result was just what I wanted. The blue adds a nice pop of color, the mirror itself makes the entryway look bigger, and we now have somewhere to stash mail and hang our belongings!
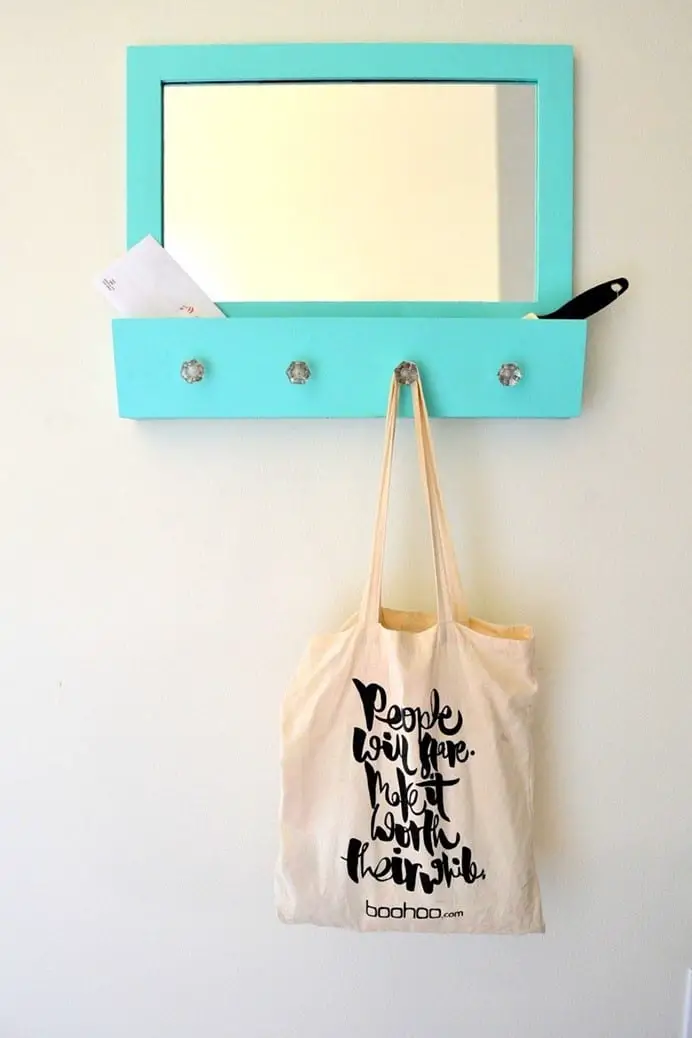
Taking on DIY projects may not always be the easy route, but with a little persistence and creativeness you get an end product unlike anyone else’s.. and the satisfaction of knowing YOU did it! So when things go wrong, hang in there, think like MacGyver, and craft on my friends! ?
Outtakes..
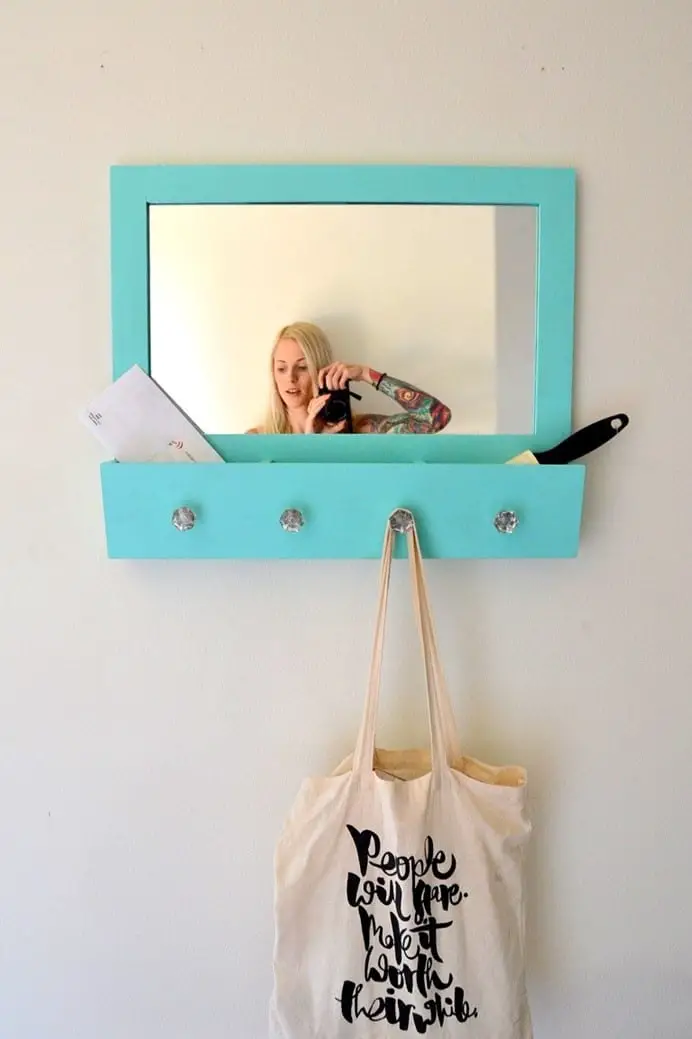
This is me realizing someone is trying to escape out the open front door!
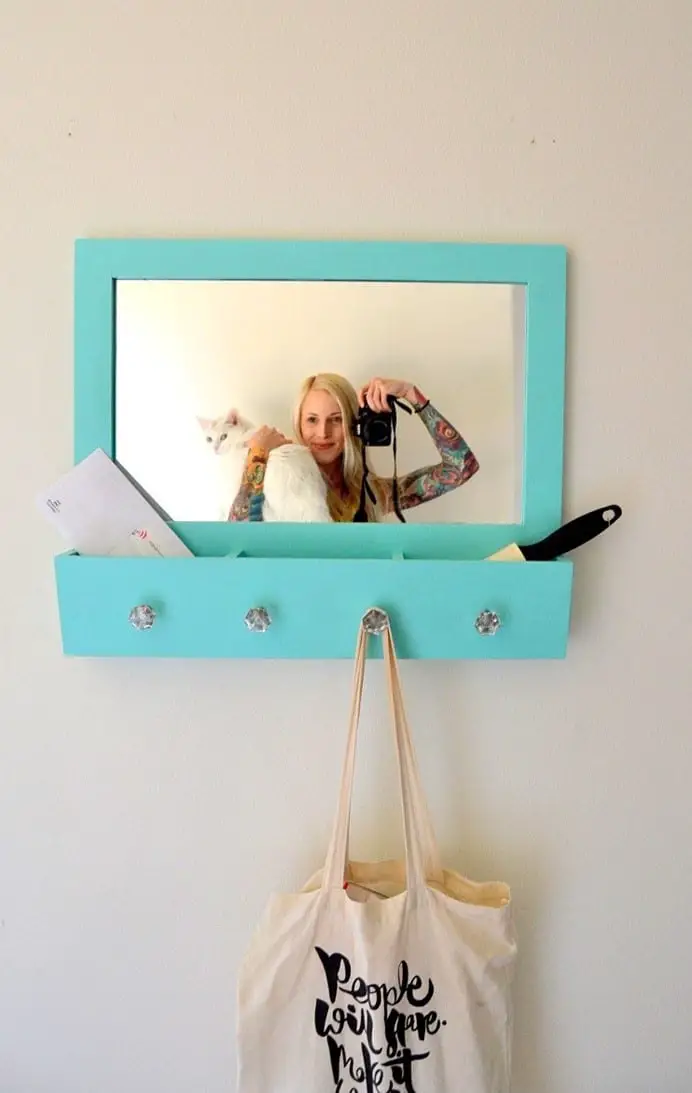
And so I scooped her up!
