Painted Rock Plant Markers
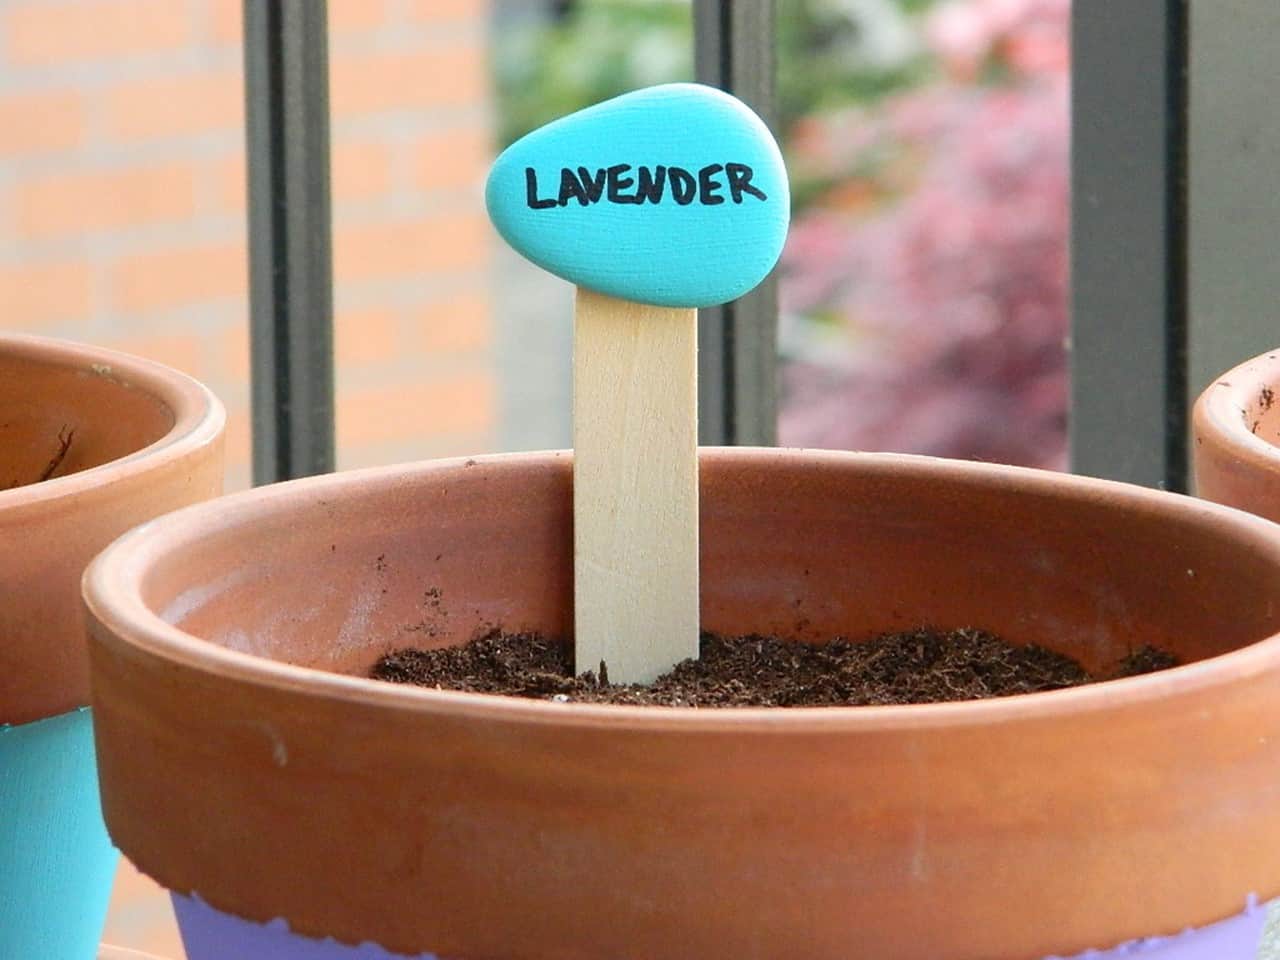
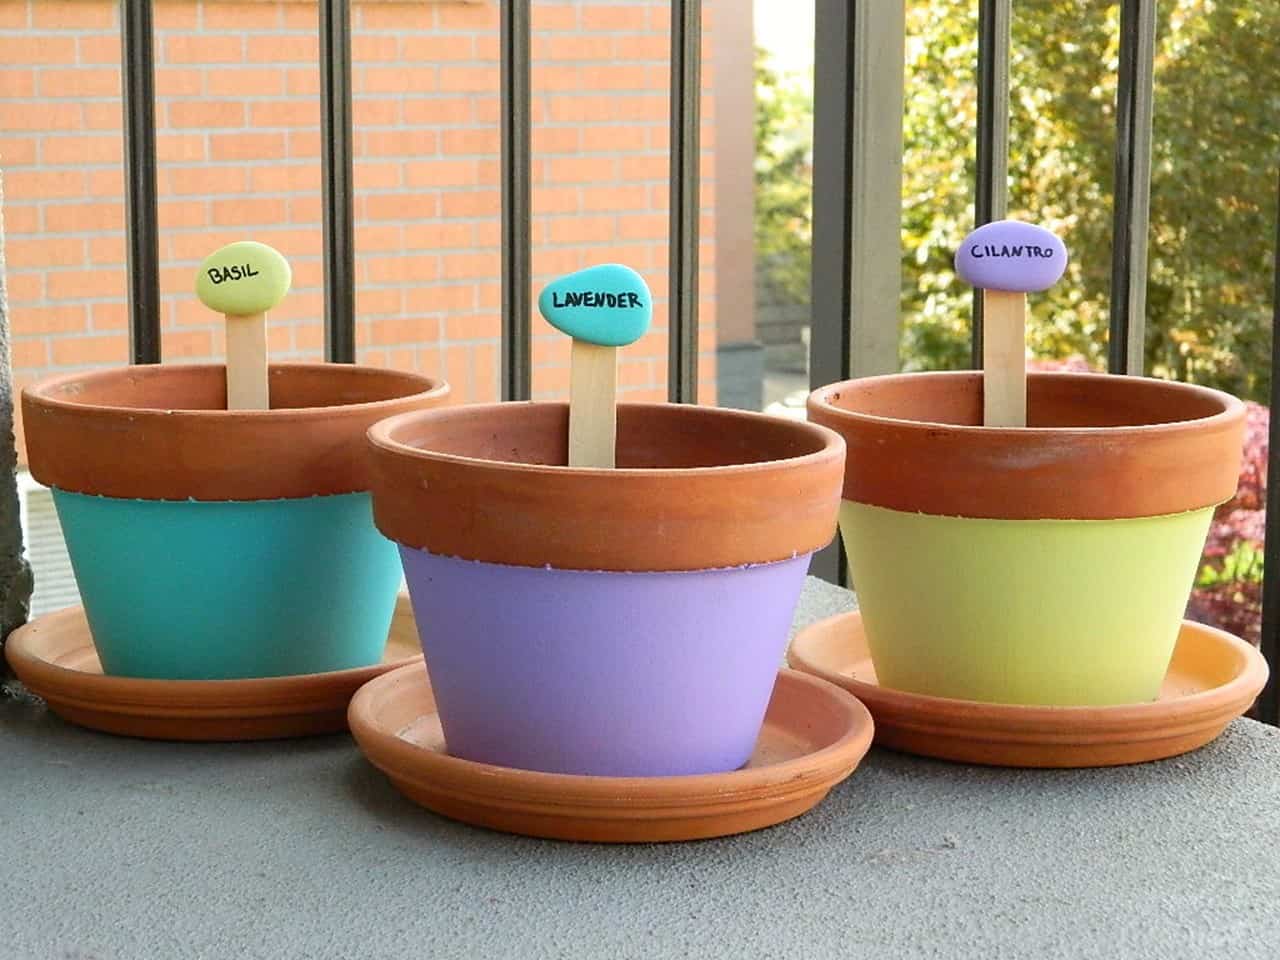
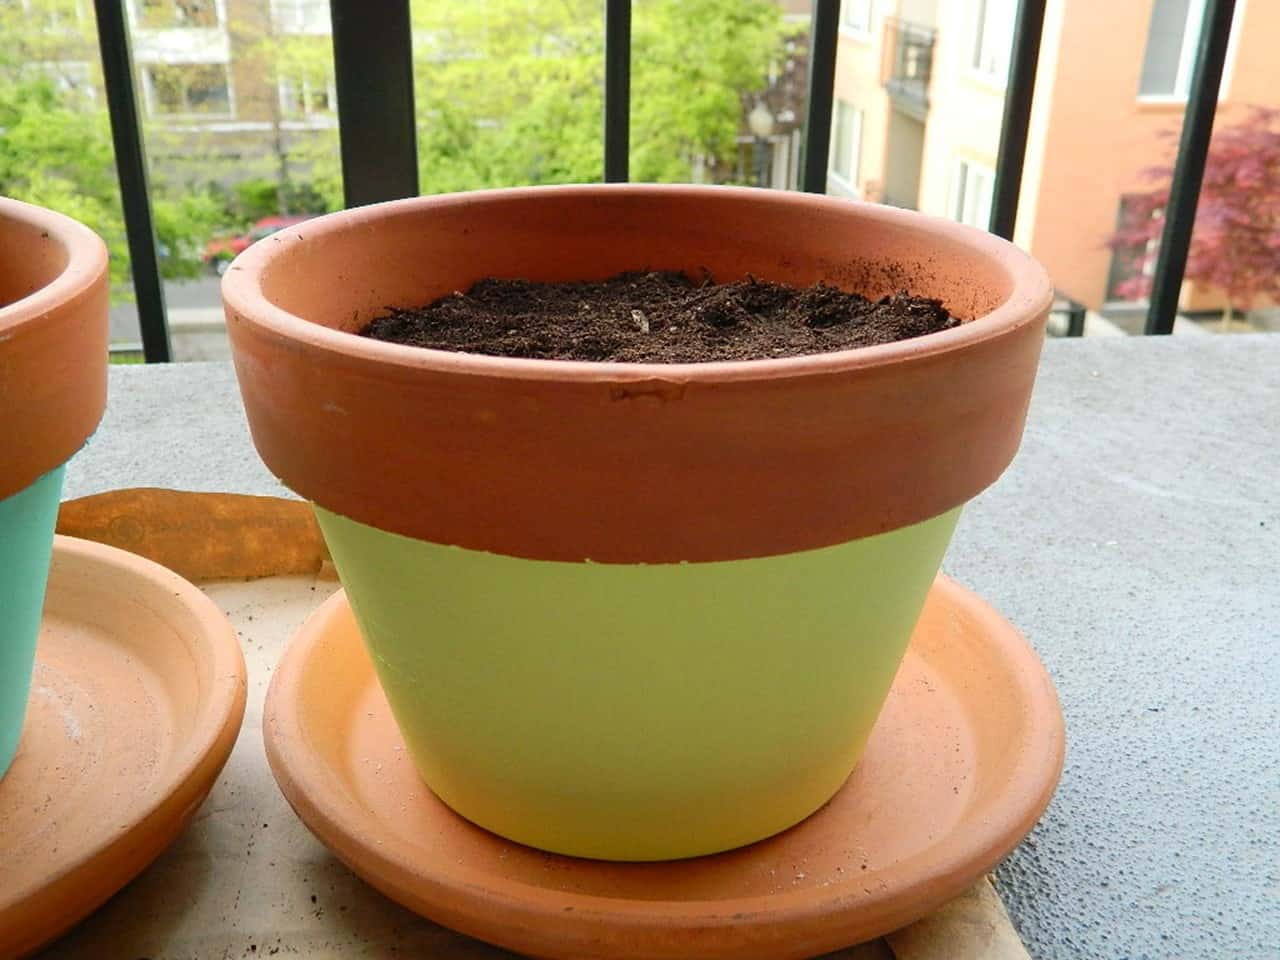
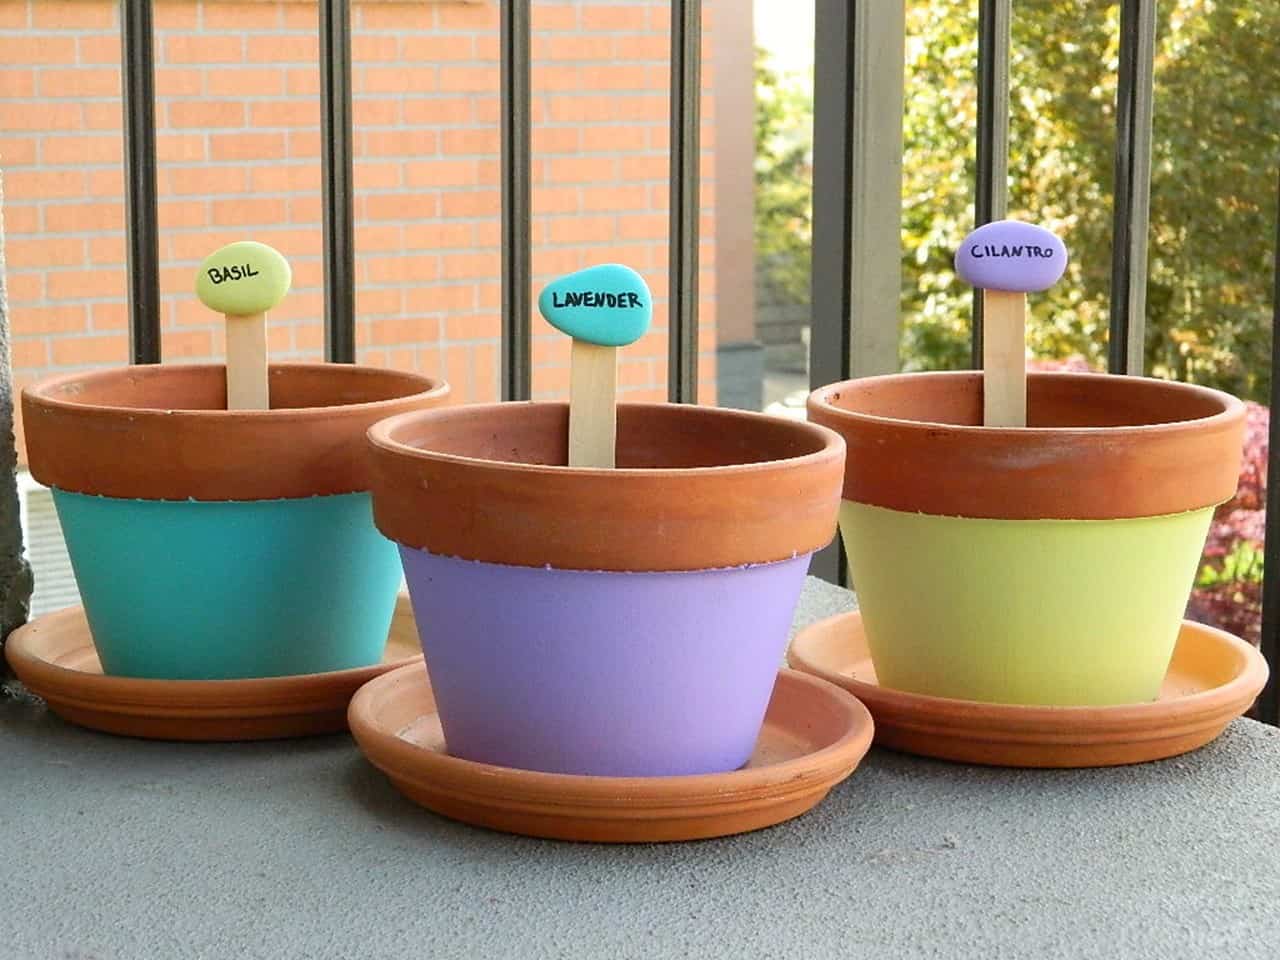
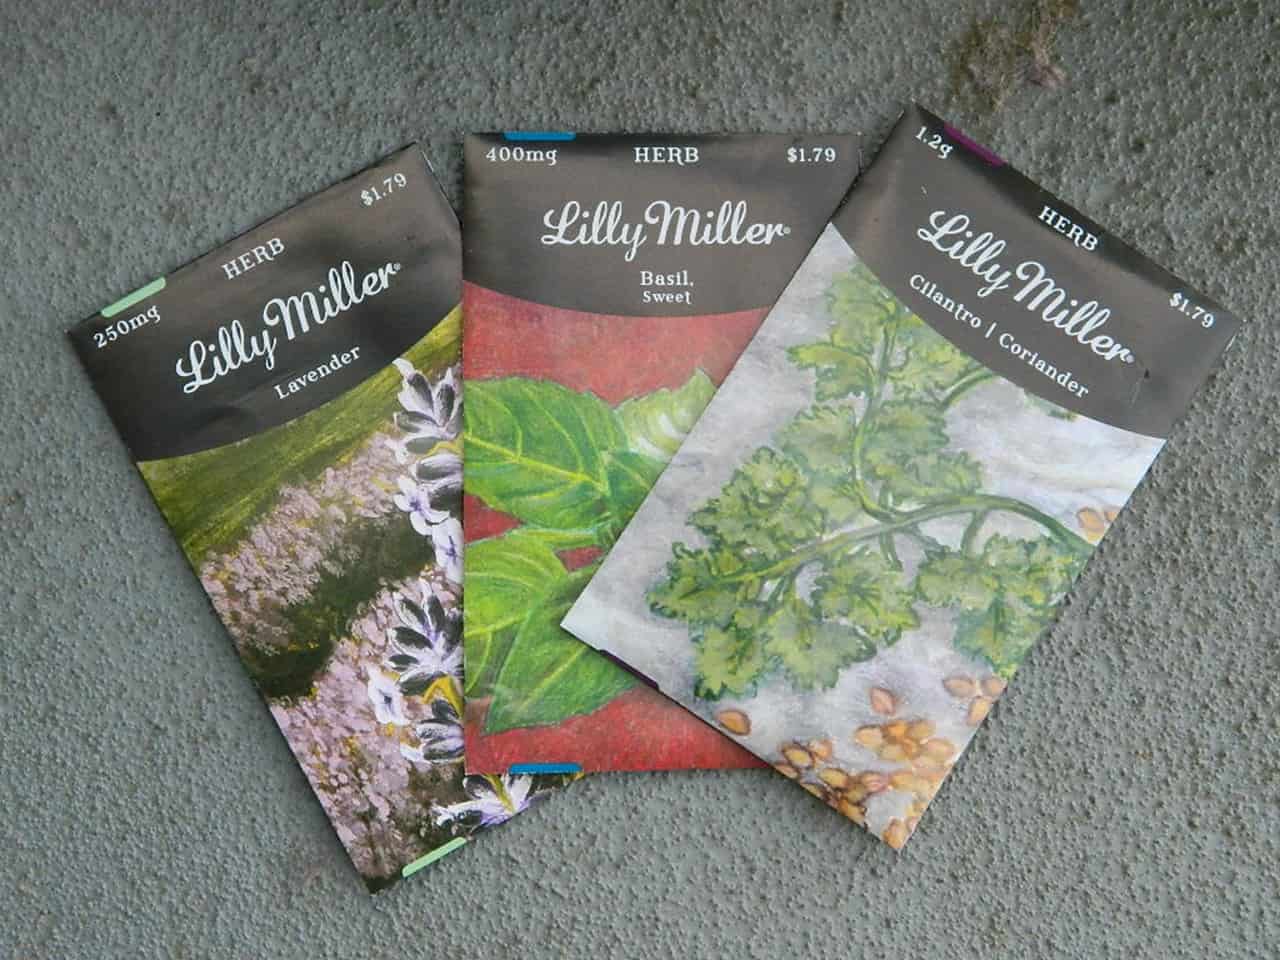
Last year I painted labels on my terracotta pots, but since I switched up the herbs I planted I needed a new way to tell them apart. I painted the entire pot (before and after photos follow) and made these simple and cute rock plant markers instead! Find out how to make your own!
…..
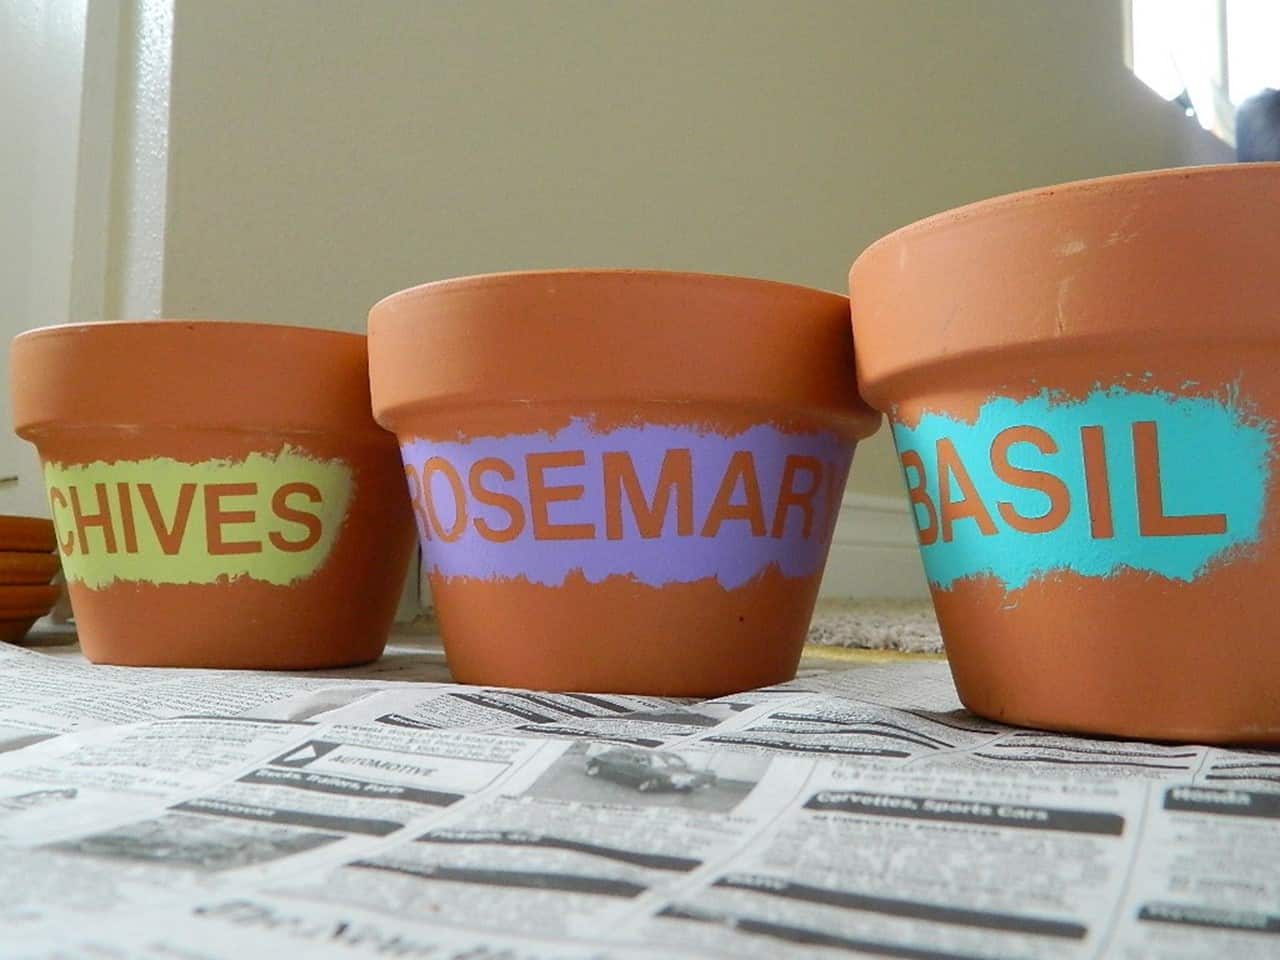
My planters from last year..
Follow my tutorial here to paint your own like this!
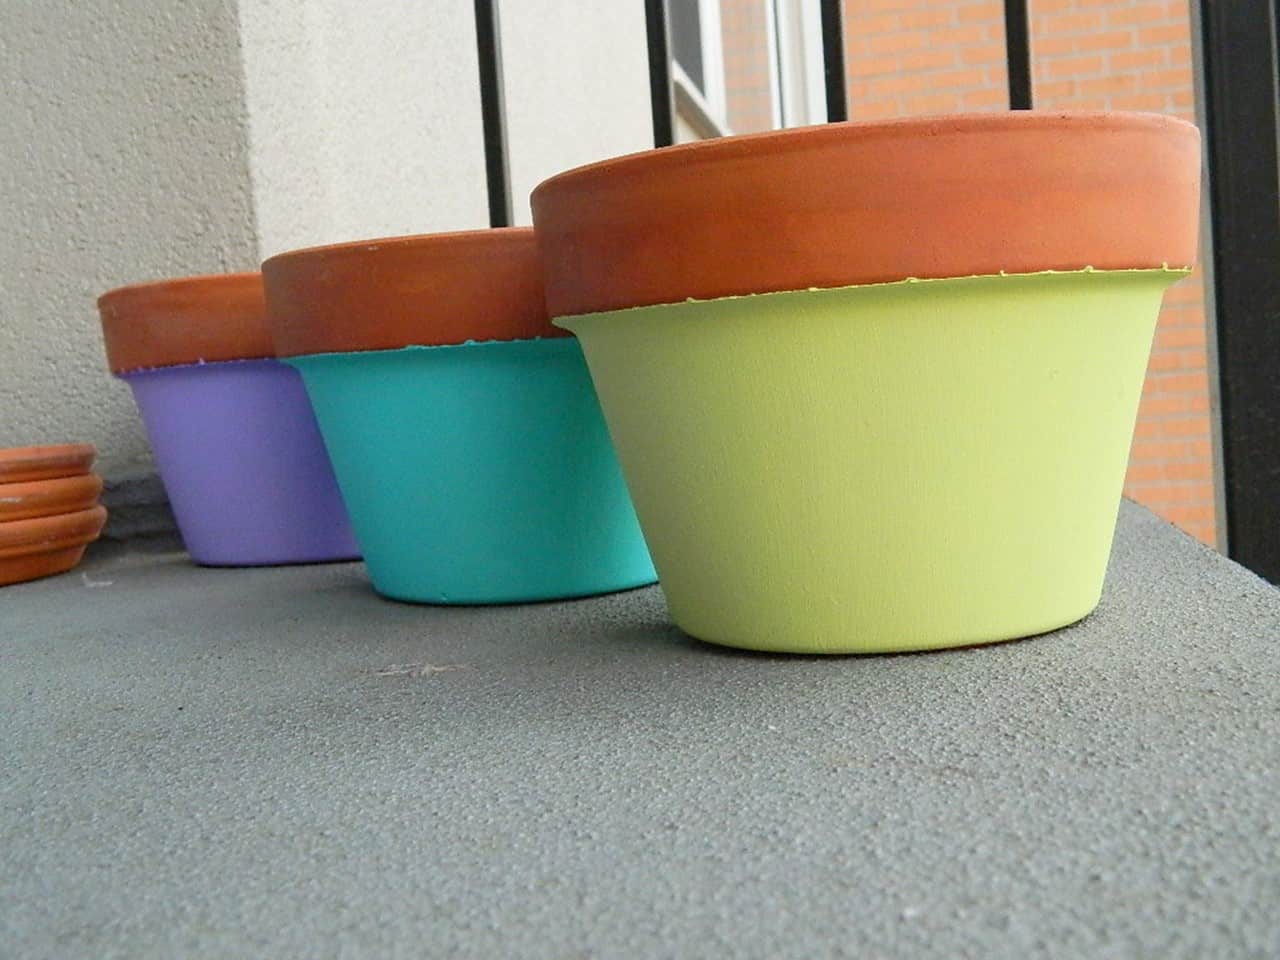
Since I planted different herbs this year I just painted the entire pot to eliminate the label..
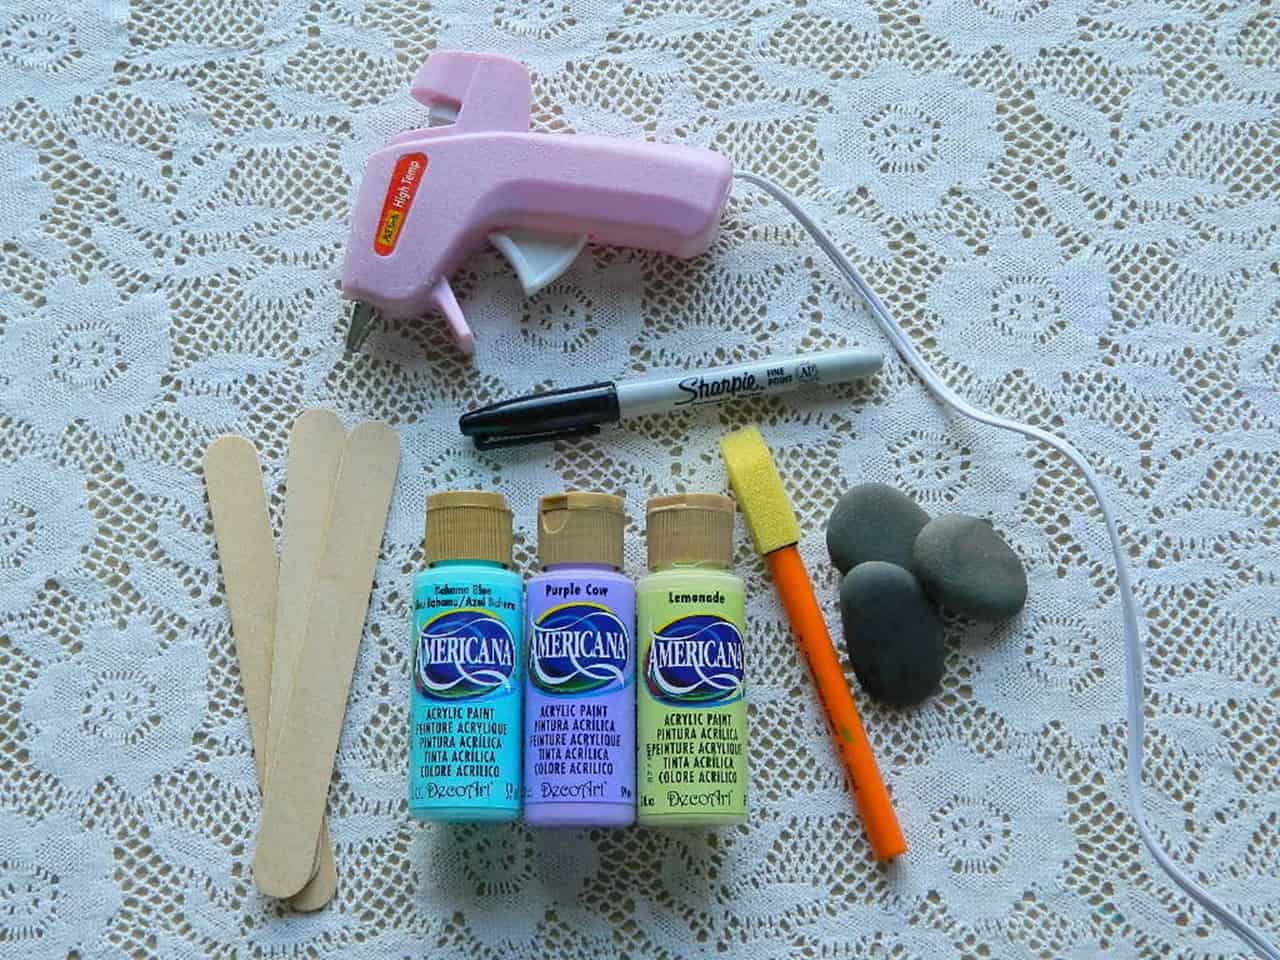
Supplies:
Rocks/river stones (I actually collected mine from the beach, but you can purchase bags of them at most craft stores!)
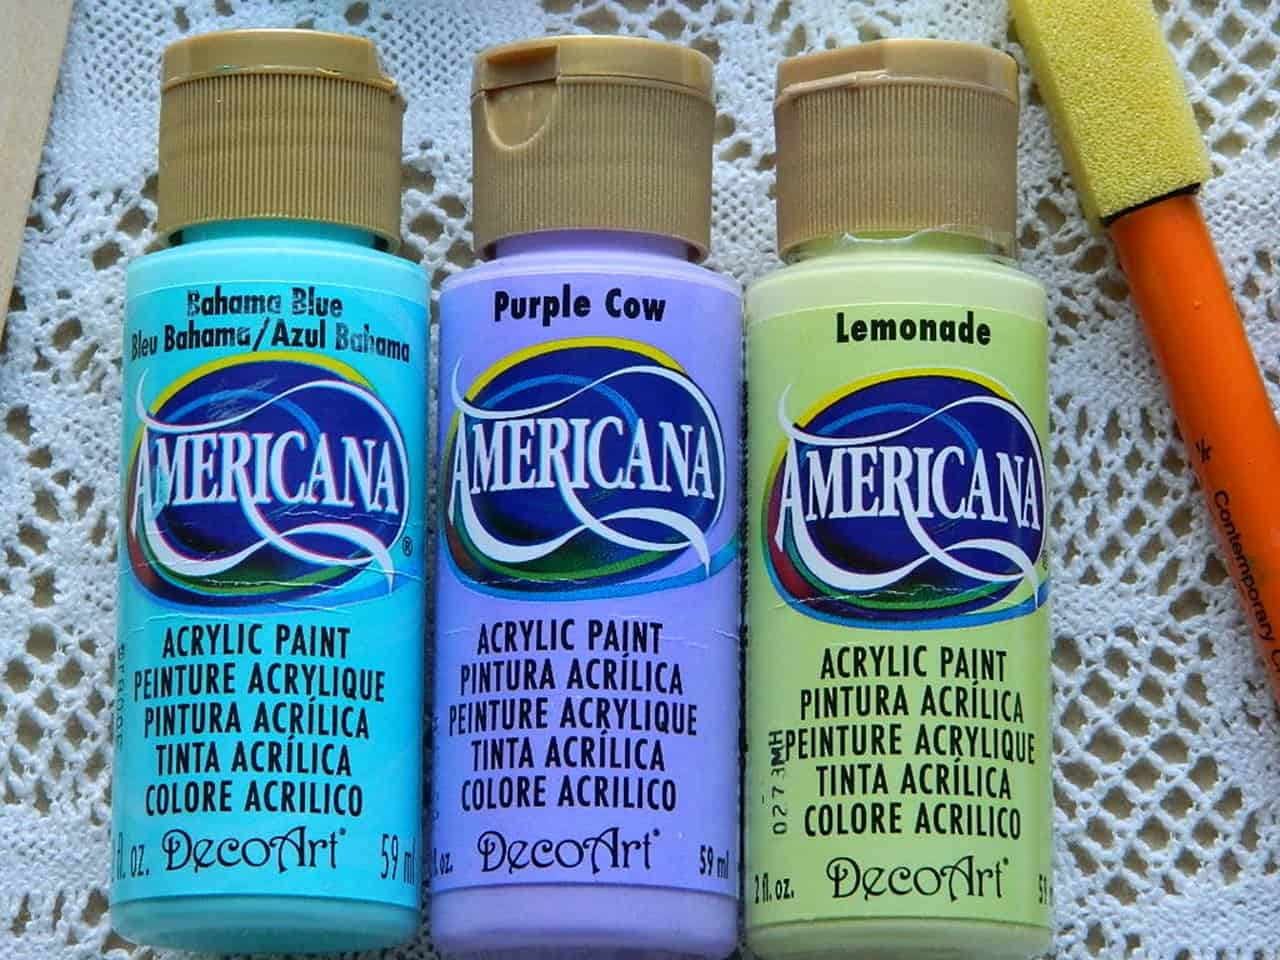
Acrylic paints
Small paint brush/foam brush
Popsicle sticks/tongue depressors
Hot glue gun and hot glue sticks
Permanent marker
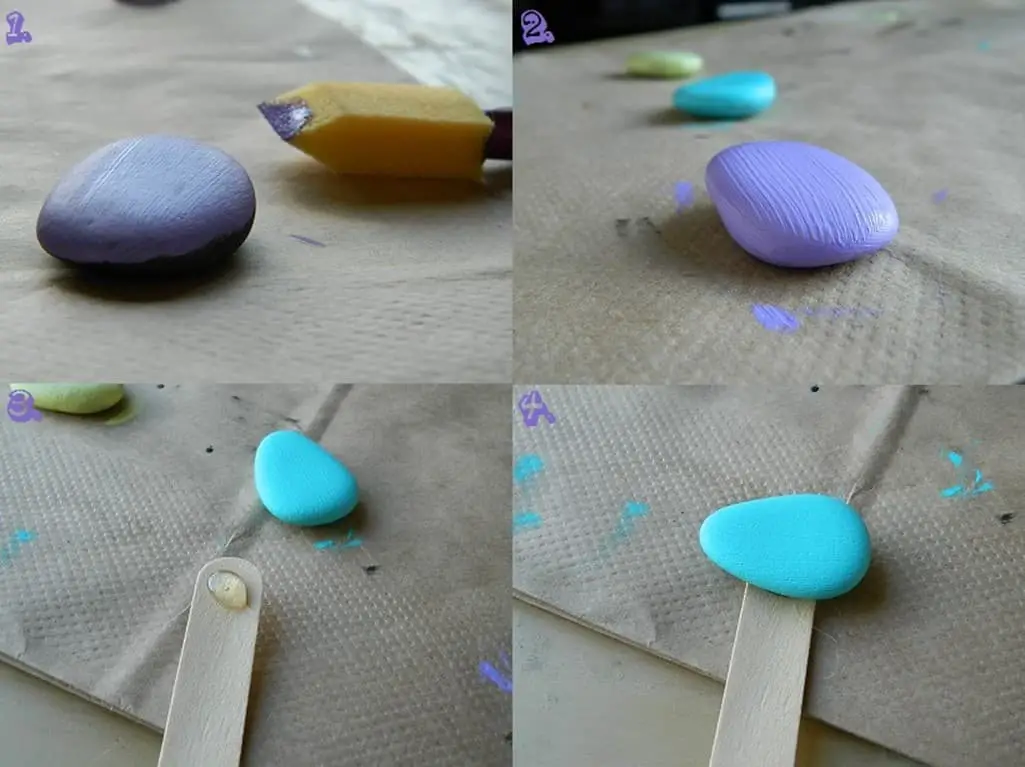
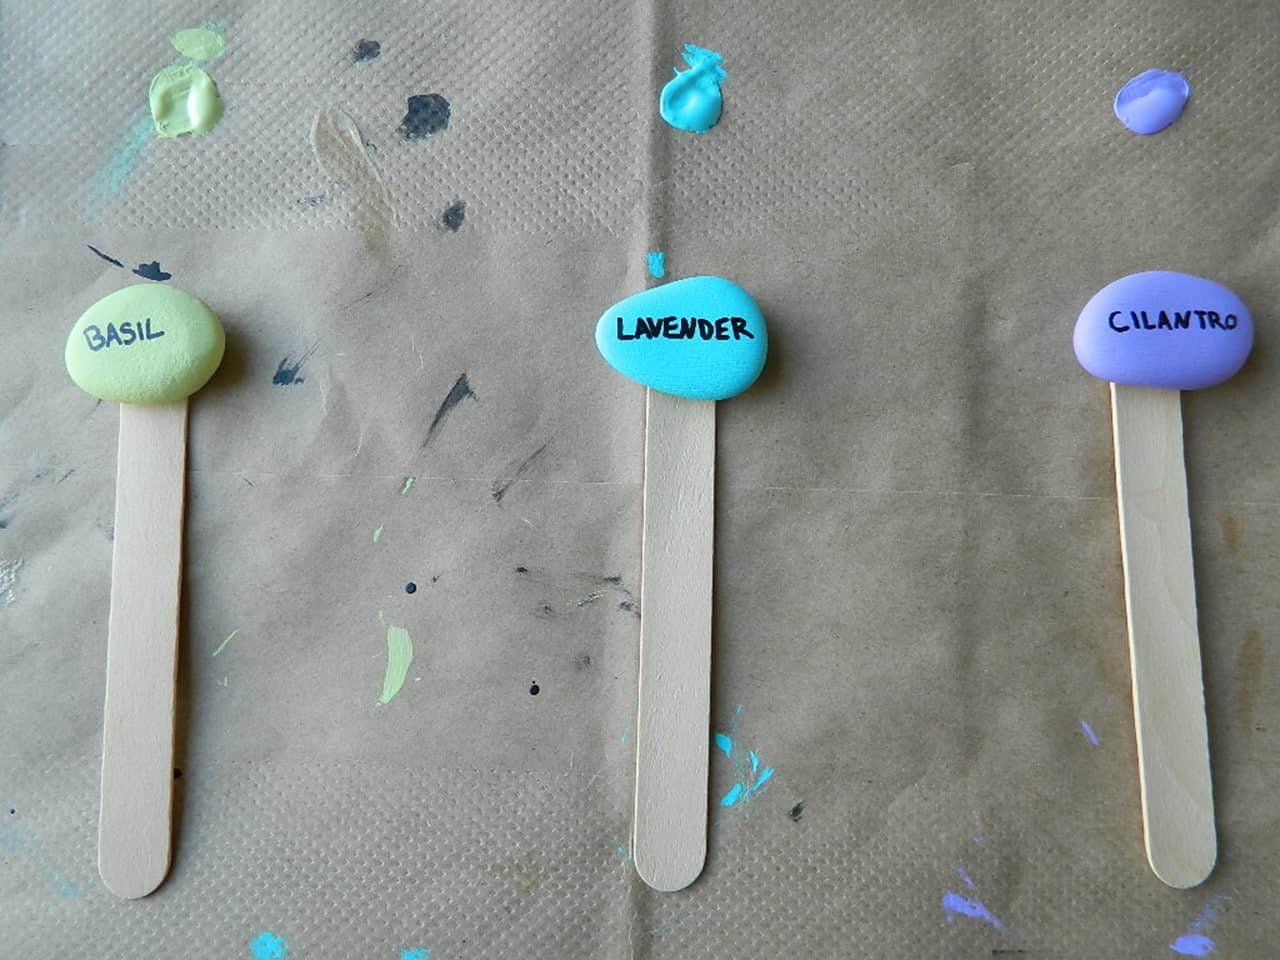
(1.) Start by painting one side of the rock and let it dry for 5-10 minutes. (2.) Flip it over and paint the other side. Once dry paint a second coat on the face of the rock you plan on writing on. (3.) Once completely dry, place a large dab of hot glue on the end of the popsicle stick and (4.) place the rock down, with the side you painted two coats on, facing up. Press and hold for a few seconds.
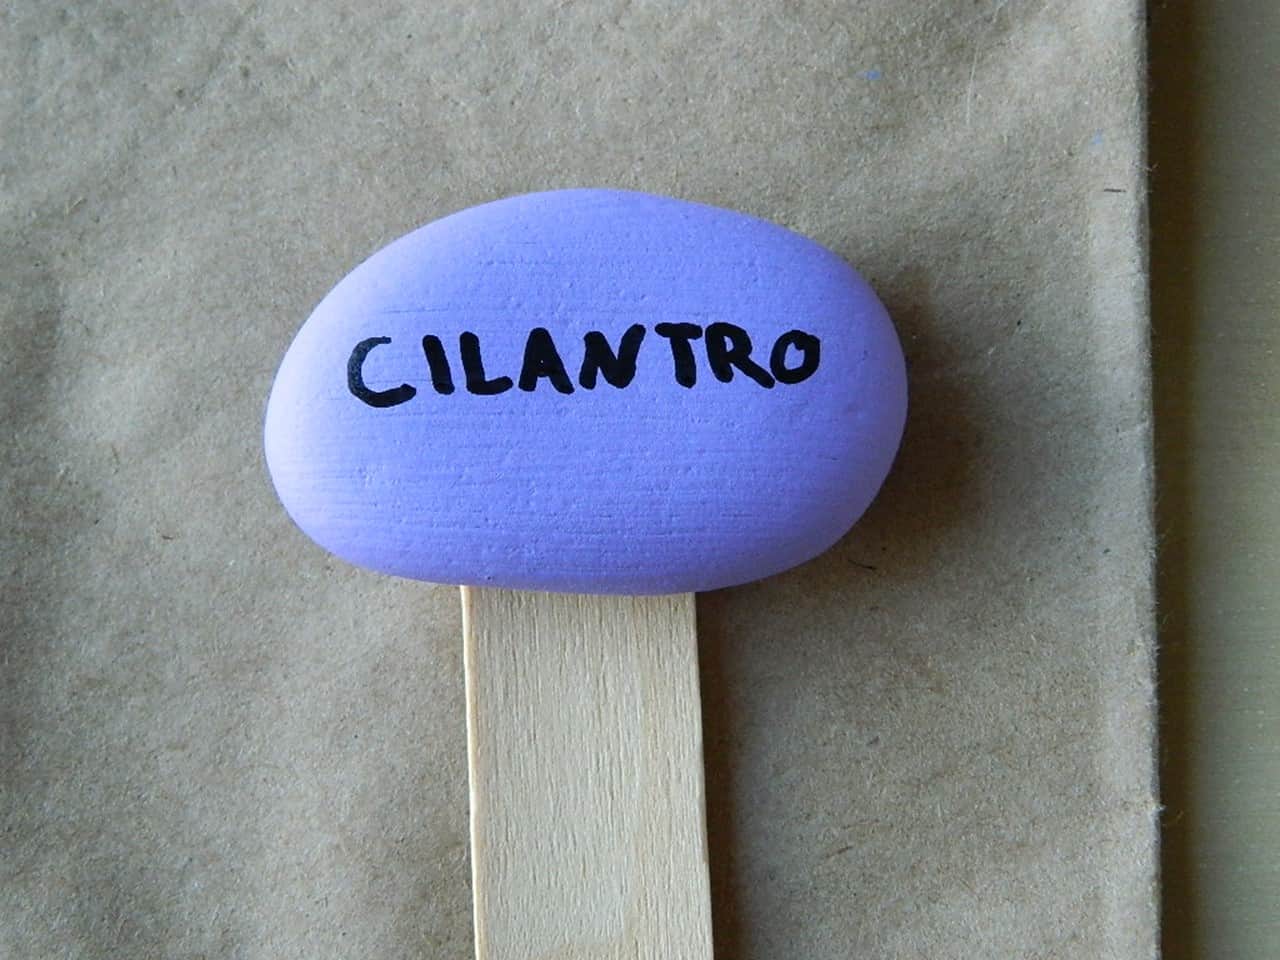
Use a permanent marker to label the rock and place in the appropriate planter.
And you’re done!
Happy gardening!

