Vintage Mother Tattoo Felt Christmas Stocking Pattern
Why, hello, there Tattooed Martha readers! My name is Allison and I’m a crafty blogger over at Dream a Little Bigger.

I’m really, really excited about guesting here, simply put, because I adore Sasha! She’s one of my favorite, must-read bloggers and her talent always boggles my mind! Nevermind that she’s about as sweet as the day is long! So I’m so pleased to be here and hope that you dig what I’ve got to offer!
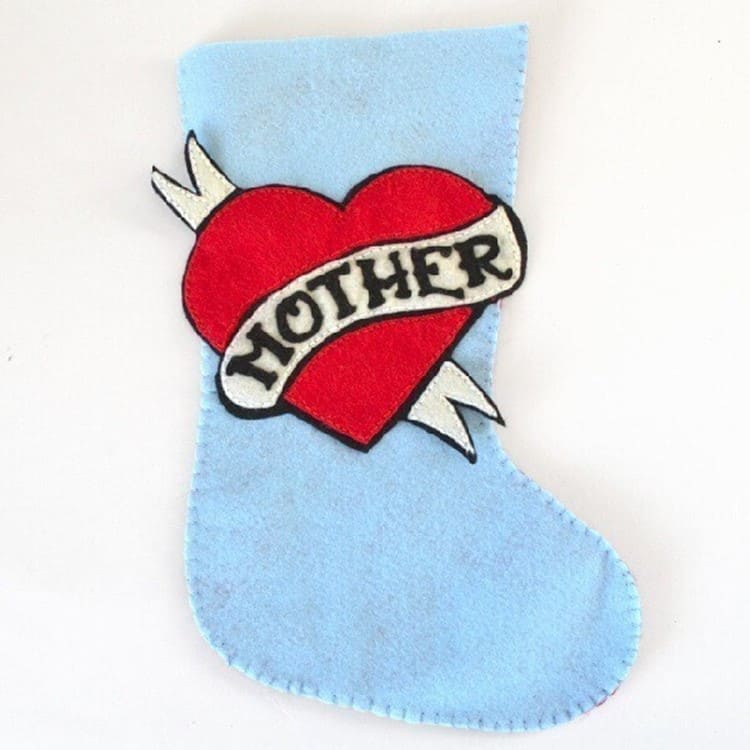
Now me, myself, I’ve never gotten a tattoo and to be honest I probably never will. It’s not that I can’t see the beauty in them because the good ones are veritable art as far as I’m concerned. Nope, you see, I simply can’t make up my mind and keep it that way for very long. To commit to something on my body forever seems impossible to me because I hardly ever keep the same opinion about one thing or another from one day to another.
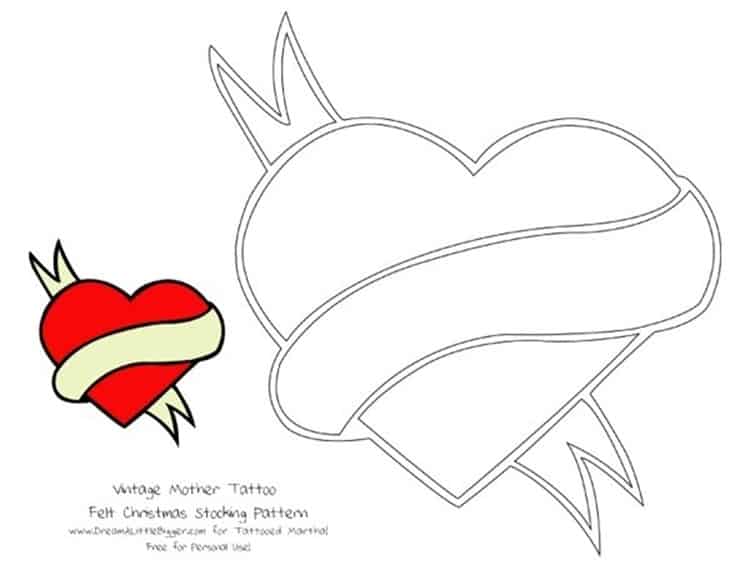
But my sister loves tattoos. She has a whole slew of them (though she wants more) and she reads tattoo magazines like I pick up a copy of Glamour. And a while back ago I started making felt stockings for all of my family members, each with a design that I made specifically for them and their personality. Well, this vintage mother tattoo stocking pattern was created just for my little sister! And it seemed the best place in the whole world to debut a tattoo stocking would be here at Tattooed Martha!
Now this is less of a tutorial and more of a free pattern simply because I had some camera issues. With it being so close to Christmas, I just wanted to get the project over to Sasha so that she could share it with you while you still have enough time to knock one out yourself. So I’ll try to use my words and feel free to ask any questions you might have that I didn’t cover here in this post!
Click the pic to download the 3 page PDF pattern!
For this project you’ll need:
- FREE printable pattern and stocking shape here
- sheets of felt in beige or white, red and black
- embroidery floss in matching colors
- about 1/4 of a yard of felt by the roll in the color of your choice for the stocking itself. I dithered between charcoal gray, steel blue and baby blue but you can tell how I wound up going!
- very sharp scissors
Optional materials:
- freezer paper
- spray adhesive
- hot iron
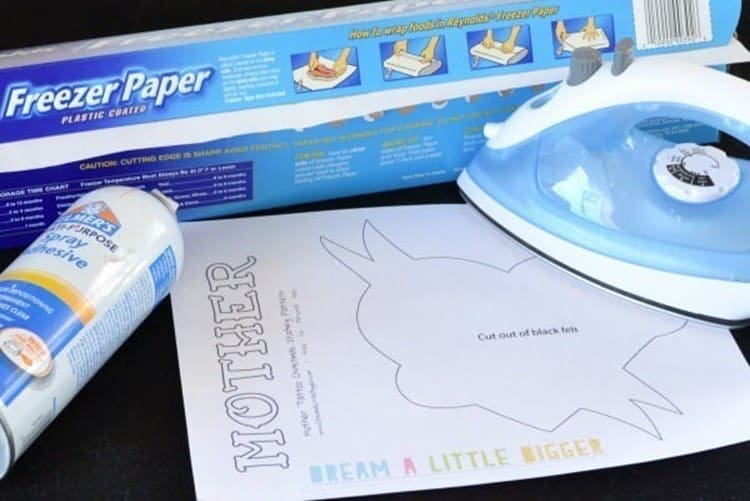
You can cut out the shapes for the pattern however you please but for the crispest possible edges I prefer to use freezer paper. There are several ways to go about this.
The easiest is to cut 8.5 x 11, standard letter sized, and run them through your printer with the pattern printed on the non-waxy side. Iron directly onto your felt taking care not to heat for too long (after all acrylic felt is plastic and will melt). Use your sharp scissors to cut through the paper and the felt at the same time. Always decisively snip. Never drag the scissors when making turns and cutting curves.
Since my printer just jams up when I try to run freezer paper through, I instead cut a sheet of freezer paper and iron it onto my felt, waxy side down. I then secure my pattern printed on every day printer paper onto the by first lightly spraying with adhesive. Then continue as above, using sharp scissors to cut the felt, never dragging the scissors while you do.
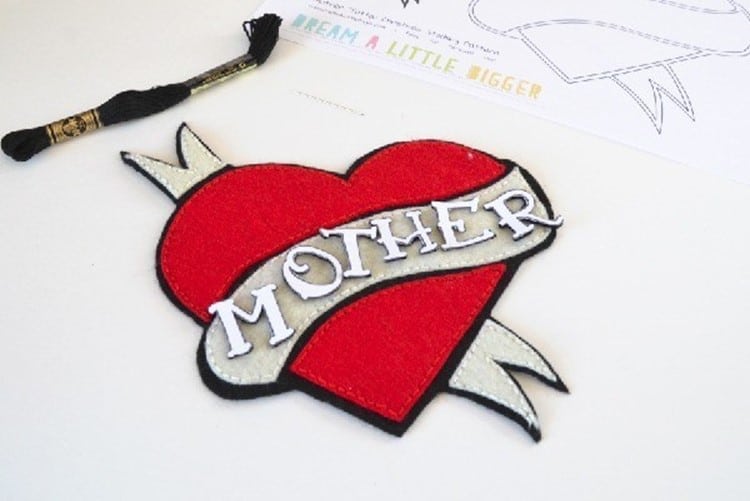
Putting together your tattoo applique for the stocking is pretty easy. You’ll take your large black shape and then piece your heart and banner shapes on top. Use a basic embroidery top stitch to attach.
When you get around the slimmer bits, like the points on the banner ends take care. If you run a needle too close to the edges you’ll mess up the shape (see on the very bottom point how mine is blurry, that’s why).
Now, my letters are a bit blurry on the finished stocking. I should have purchased a stiff version of felt which is sold by regular, soft felt in craft stores but costs a little bit more. The stiffer felt isn’t a good idea for the larger areas, but that stiffness would have helped my letters hold their shape while I was handling them.
And if you want another word, like father or whatever, this is the free font I used.
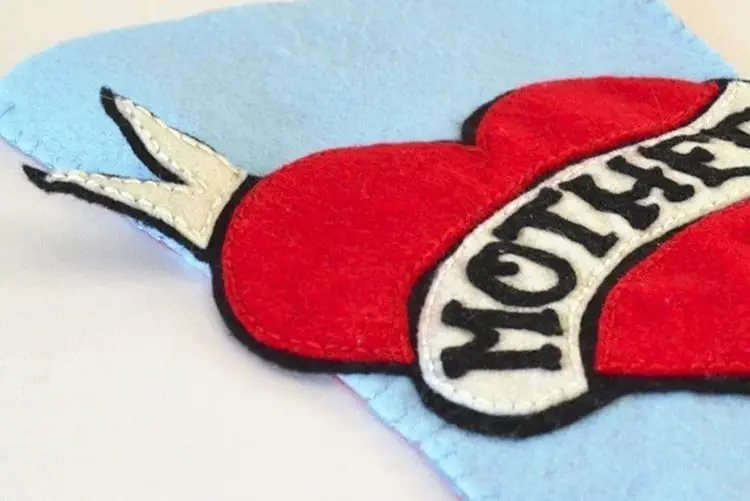
When your tattoo is complete stitch it onto the front piece of felt for your stocking. Just tack down the black areas with black embroidery floss, you won’t be able to see the stitches at all.
When securing your tattoo to the stocking front, be sure to leave your banner edges free so that they stick out all 3D and in your face! Well, as much as they can ?
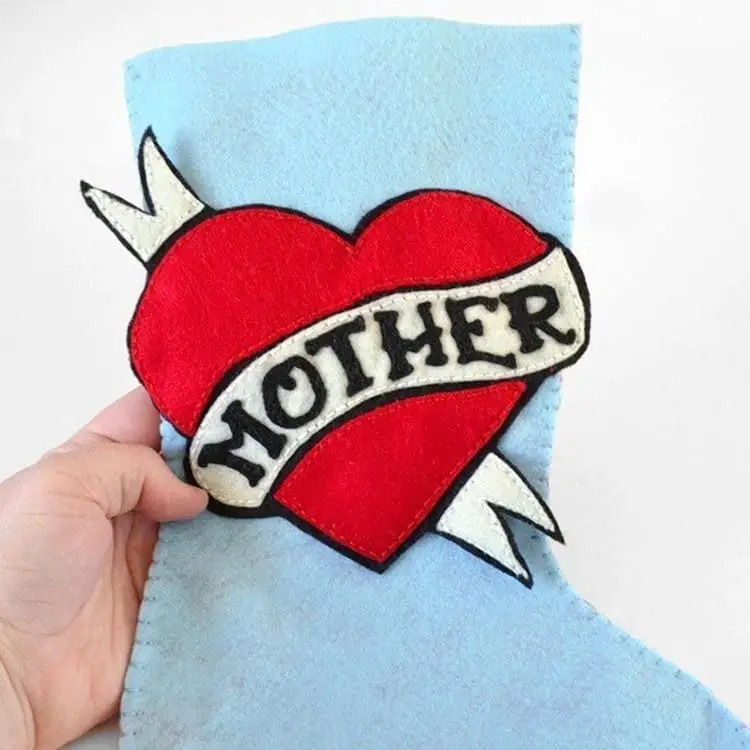
And there it is! From start to finish one of these will take you about 2 hours to complete which isn’t bad for a handmade gift!
I hope you’ve enjoyed this post, and if you did I’d love to see you at Dream a Little Bigger. Thanks so much for having me, Sasha!

