9 Nail Art Designs For Your Beach Vacation
If you are a nail-art person like myself, chances are high you have your polish ritual. Regardless of your ritual, nothing makes a better ‘beach statement’ that freshly and neatly done and adorned toes and fingers.
Because you might be planning a trip to the pool, lake, or beach sometimes in the next couple of weeks, I’ve put together a comprehensive guide to incredibly-looking designs to punctuate your beach vacation.
The best sundresses, flip flops, and bikinis would not be complete without a striking nail art design for the beach. Whether you create ambient sunsets, cool seascapes, or adorable sea creatures on your nails, having an attractive and neatly done nail art design during your beach vacation is necessary.
Before looking at some of the best nail art designs you should rock during your next beach vacation, let us first look at some crucial information about the same:
Maintaining Nail Polish While On The Beach
Protecting the skin is a no-brainer to many while at the beach. Unfortunately, many beach-goers do not put enough measures in place to protect their nails.
From injured nail beds to split cuticles, there are countless ways that spending time on the seashore might damage your subtle nails. The last thing you want is to spoil your million-dollar looking nail polish.
By learning how to guard your nails from the injurious surf, sand, and sun, you can maintain your good-looking nail polish. Here are some effective tips to help you out:
Make use of a strengthener
From diet tweaks to manicure tips, there is a lot you can do to strengthen your nails. Strengthening nails before heading to the beach is highly important as they need to be strong for the harsh beach conditions.
An effective way of achieving this goal is by applying some coats of a nail strengthener like the OPI Nail Strengthener before stepping out. Doing this goes miles to make sure your nails remain not only nourished but also strong before you get to the sun, sand, and water.
Always have a nail file
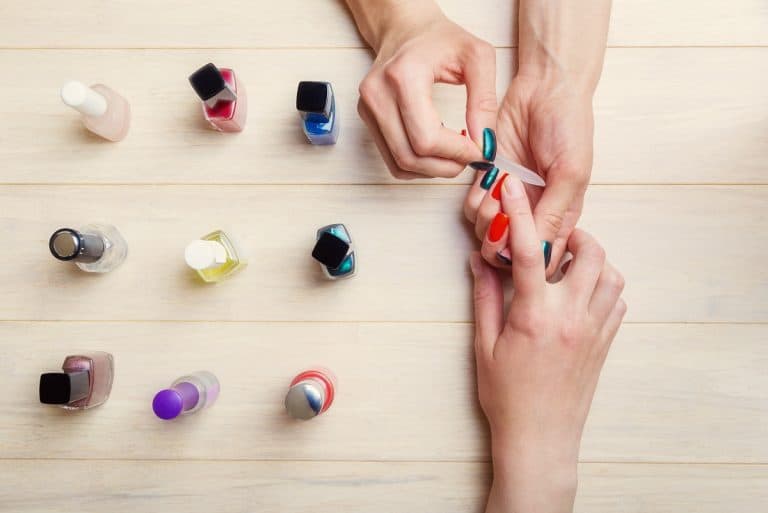
Having a nail file always with you during a beach vacation is important. The rule of thumb is to maintain immaculate, and shorter nails instead of the long ones. Trimming nails is magical when it comes to not only maintaining healthy nails but also avoiding breaking and snagging.
Longer nails tend to be more susceptible to breaking and snagging. When you file them, you mitigate any risk of damaging the manicure or polish.
When using your file, be gentle as you smooth out the nail’s edges. As part of your nail care, it is prudent to lightly work on the nail’s surface.
Moisturize your cuticles
Moisturizing your nails and cuticles to be specific is another essential step to take before you go to the beach. It plays a big role in maintaining healthy and strong fingernails.
From the salty sea to the gritty sand, your nails can get dry because of an array of reasons while on the beach. Dry nail beds can lead to bleeding or splitting. For this reason, it is wise to be prepared by having a cuticle moisturizer as part of your beach essentials.
Applying a moisturizer like the Bee Naturals Nail Moisturizer helps cuticles to remain moisturized even when you are soaking up the harsh UV rays.
Sparingly apply SPF
SPF is an acronym for sun protection factor. Contained in sunscreen, it helps to prevent your skin from the harsh radiation of the sun. While SPF is necessary for protecting the skin when you are on the outdoors, it is not that good at maintaining your nails in top shape.
SPF can not only soften your nails, but it can also dissolve acrylic nails as well as nail polish. What informs this?
Well, of great importance to note is the fact that some sunscreen ingredients are tough to dissolve. They are incredibly tough to the extent that some of them are contained in nail polish removers. This means that the ingredients, if not checked properly, can remove your nail polish.
Note: Not all sunscreens have this problem. One effective fix is to always ensure your nail polish is totally dry before you smear sunscreen. Dissolving would be easier if the polish is soft. Another hack would be to put on gloves or a mitt when applying sunscreen.
Consider using UV protection polish
Do you know that just like the skin, your nails are also susceptible to UV damage? To make sure you don’t grapple with any issue related to UV damage, you can use UV protection polish or topcoat before you go to the beach. The Modelones Matte Gel is a great choice.
Spend minimal time in the water
Heading to the sandy beach presents a great opportunity to relive your mermaid fantasies. Unfortunately, spending extended time in water can ruin your nail polish. The last thing you want is for your million-dollar manicure to chip.
You also do not want the salty water to dry your nails making them brittle. To avoid all these grave possibilities, it is prudent to spend not so much time in the water.
If you are a water enthusiast and want to spend more time inside the ocean, check out how to chlorine and ocean-proof your manicure.
Carry your nail polish
Your nail polish should be among your beach essentials. What you need to know is that anything that features a grainy texture such as sand will remove your nail polish. Sand is notorious for being your manicure’s and pedicure’s worst nightmare.
For this reason, it is wise to have your nail polish with you on your next trip to the beach just in case you have to fix any chipping issues.
Nail Art Designs For Your Beach Vacation
Whether you prefer a trending scalloped design, softer take on shimmer, or turquoise gleam of mermaid-inspired look, we have you covered in this section with some of the best looking nail art designs for your beach vacation.
The following are some of the nail art designs you should try on your next beach vacation:
Seaglass Nails
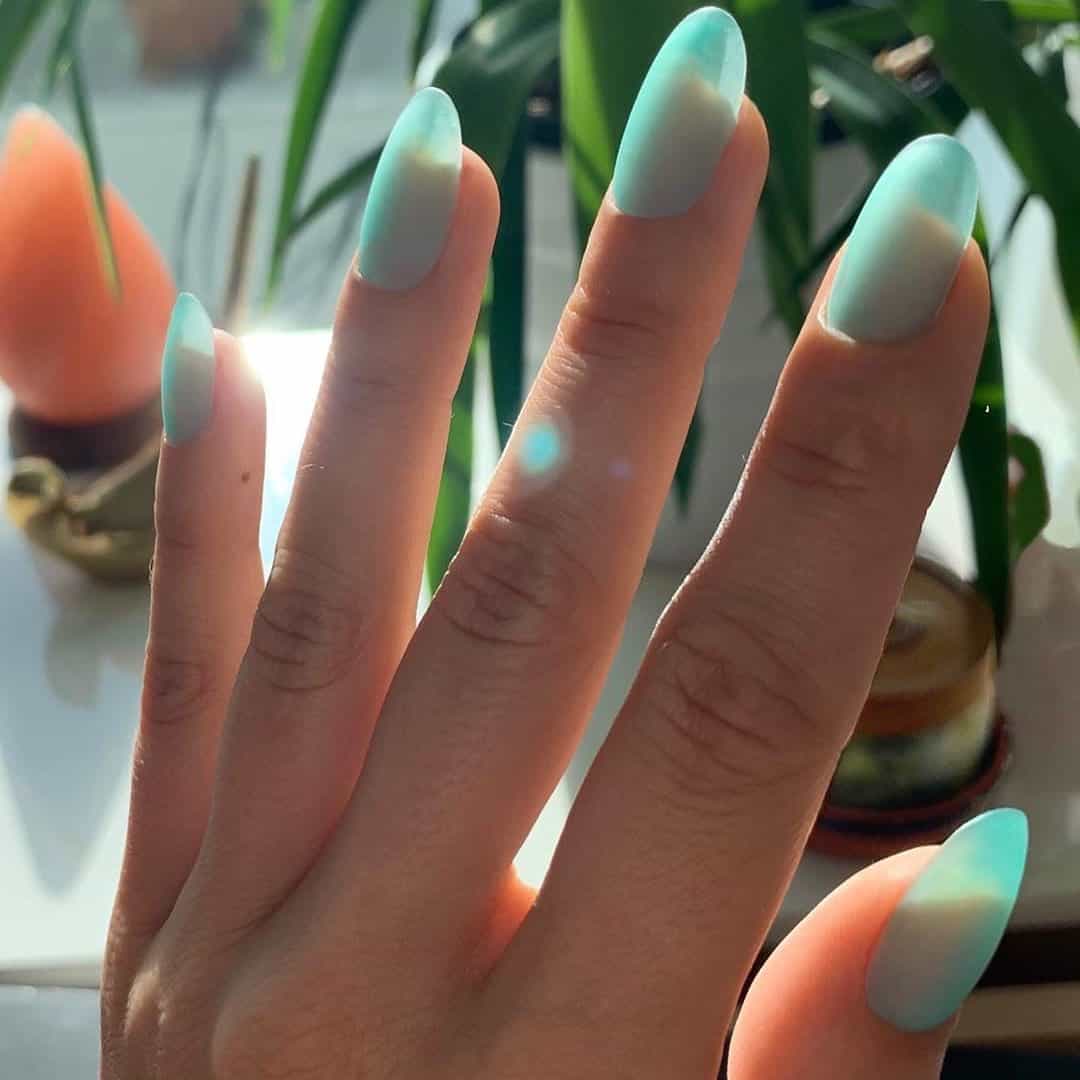
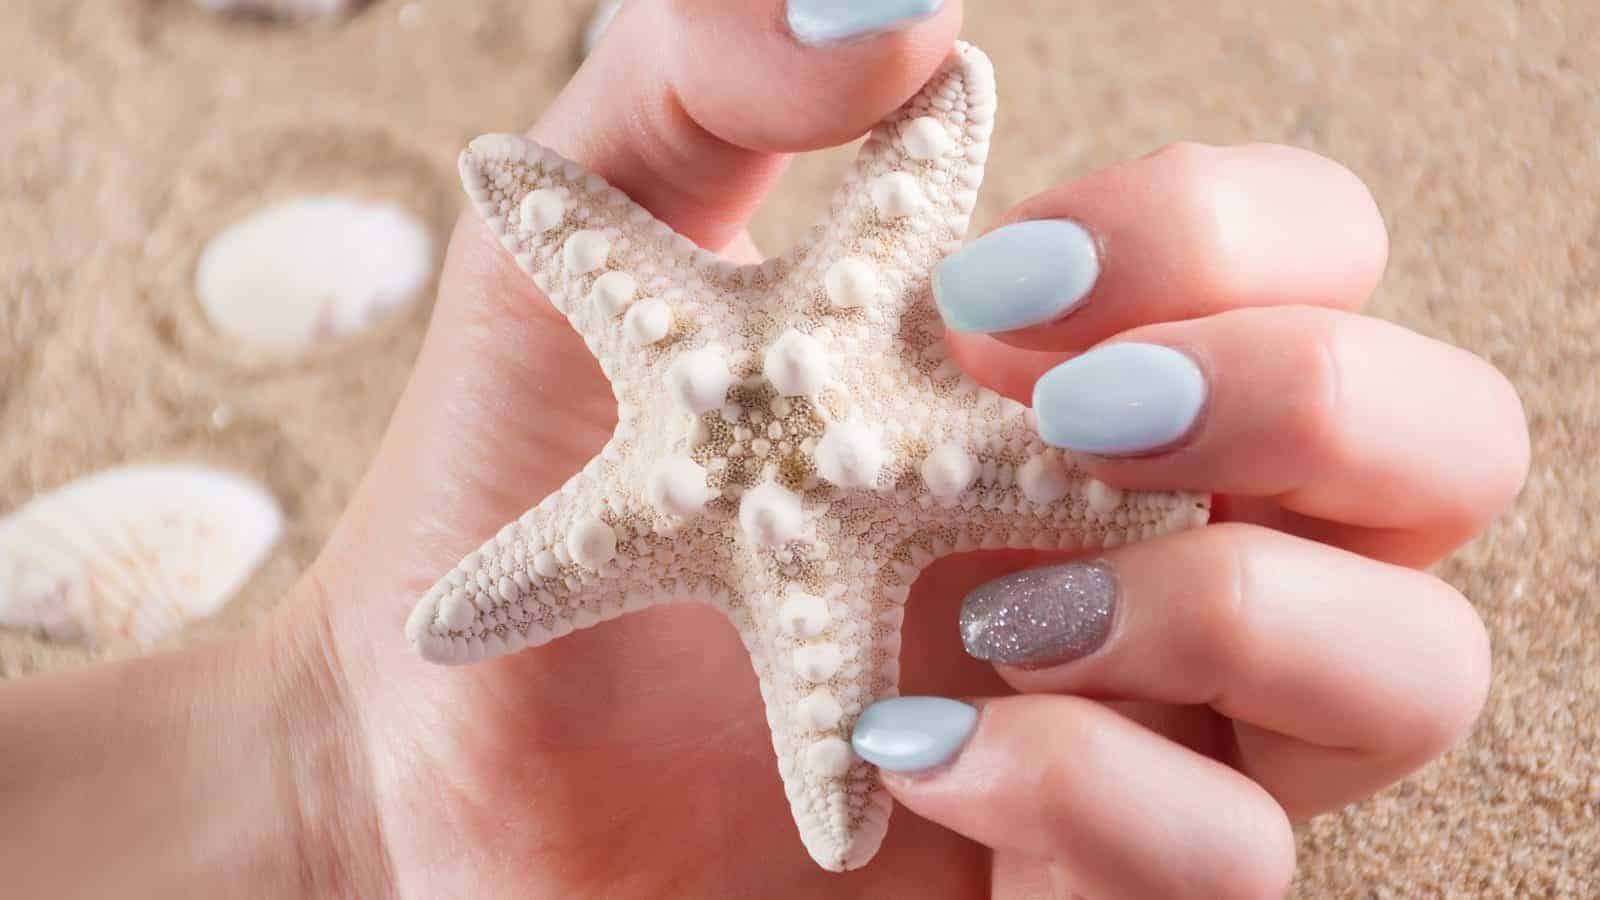
Seaglass nails are a variant of the matte nail category. Almost the same as jelly nails, these feature clear and long nails that are painted with a sheer coat of jelly nail polish that is sea-glass colored. You will fall in love with their see-through tips coupled with an incredibly-looking matte topcoat.
Their finish is what differentiates them from jelly nails. While the latter bring with them a shiny look, the former are typically topped off using a clear matte polish coat.
The best attribute about Seaglass nails is the fact that you do not have to be going to the beach to sport them. In addition to that, you can customize this design to anything you desire. This is part of the reason that this nail art is so fun.
For example, on Instagram, some iterations have glitter to create a festive vibe. Other styles, one the same platform feature chunky sparkle flecks below their matte topcoat.
You can rock Seaglass nail design in different ways – you don’t have to wear all-over color. Consider any of the following ideas:
- Multi-colored – The multi-colored option is for those into different colors on their nails. More colors mean more fun, right? Pain every nail a different shade to create a colorful statement.
- Coffin-shaped – Use your nail file to come up with a squared-off, coffin shape.
- Two-toned – If you do not want to put on 5 different colors but aren’t committed to one color, you should sport this two-toned design a try.
- Oval-shaped – This is an ideal option for those into a more rounded and softer look on the Seaglass design. It an incredible alternative to the coffin shape.
Watermelon Nail Art Design
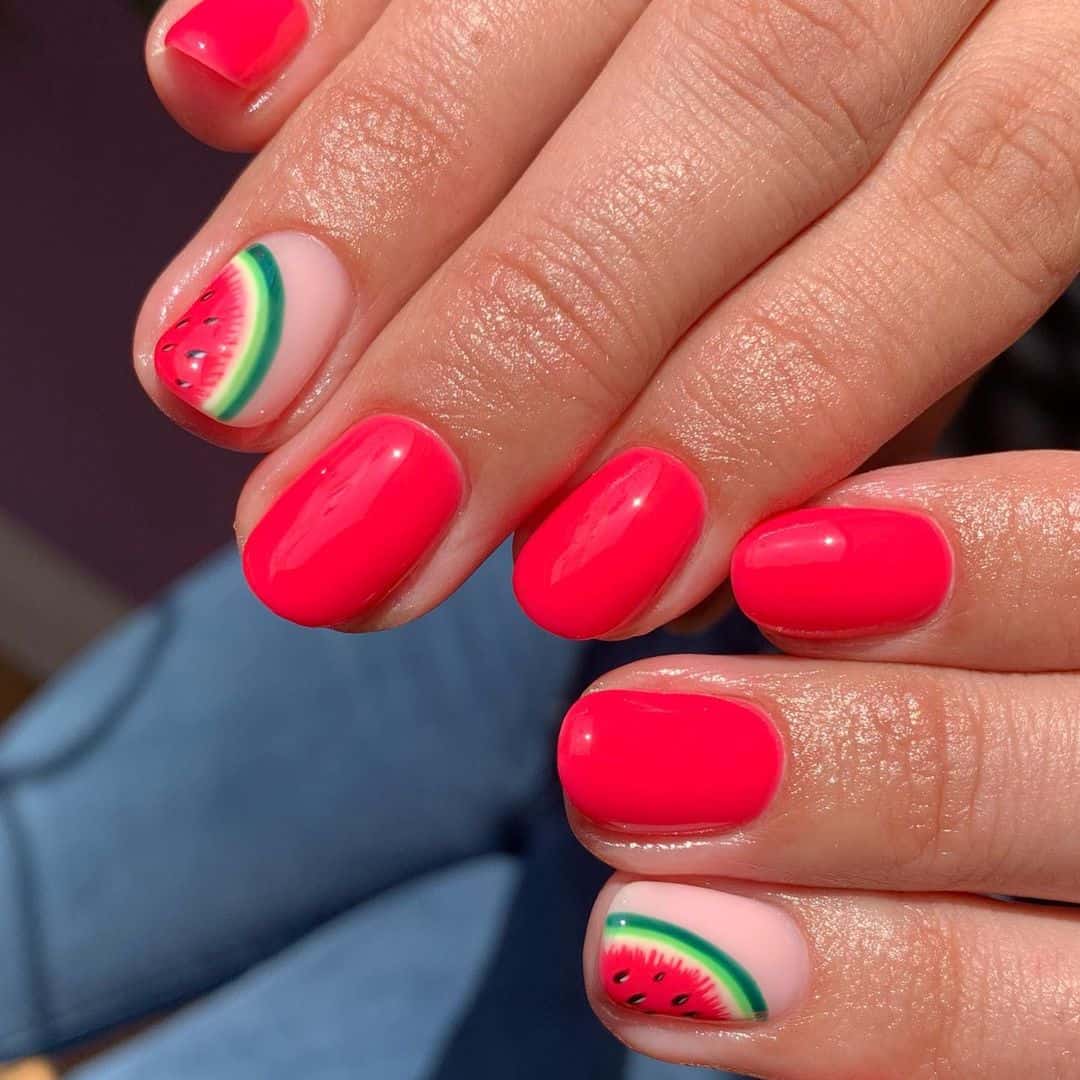
Are you into strawberries? Do you take pride in being an apple fruit aficionado? Whether you are into apples or strawberries, nothing beats the symbolic start of summer than cutting open a ripe watermelon. Summer is an opportune time to crave all things watermelons, including nail art related to the fruit.
This nail art design is one of the cutest nail-art trends for beach-going enthusiasts. The watermelon nail art design for the beach is a darling of many including myself. It helps me to replicate my favoritism and choice in the form of beauty looks and creative art.
Featuring green and pink shade with itty-bitty black seeds, the watermelon nail art design pays homage to the seasonal fruit. If you desire to bring fresh vibes into your 4th of July weekend, you should consider trying this nail art design.
One thing is for sure with this nail art design – it’ll remain forever lovely and cute. Regardless of your age as a girl, from aged women to kids, you’ll enjoy its magical nature. Without a doubt, you can rest assured that the watermelon nail art design will remain relevant for many summers to come.
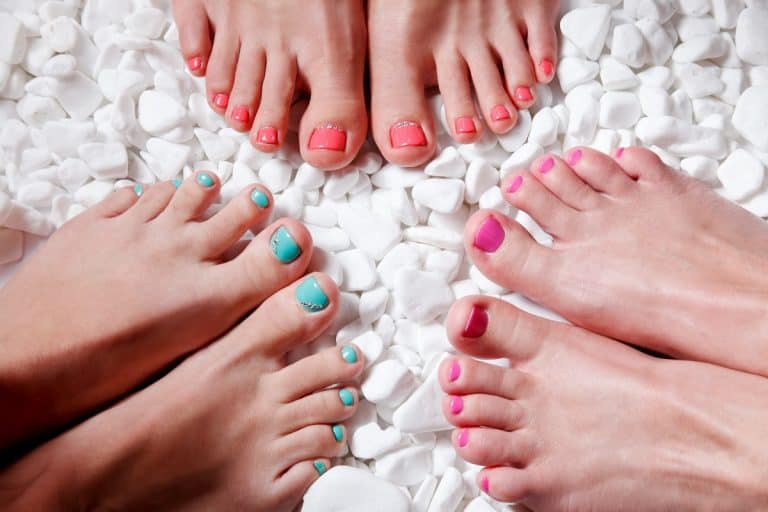
Summer Toe Nail Art Design
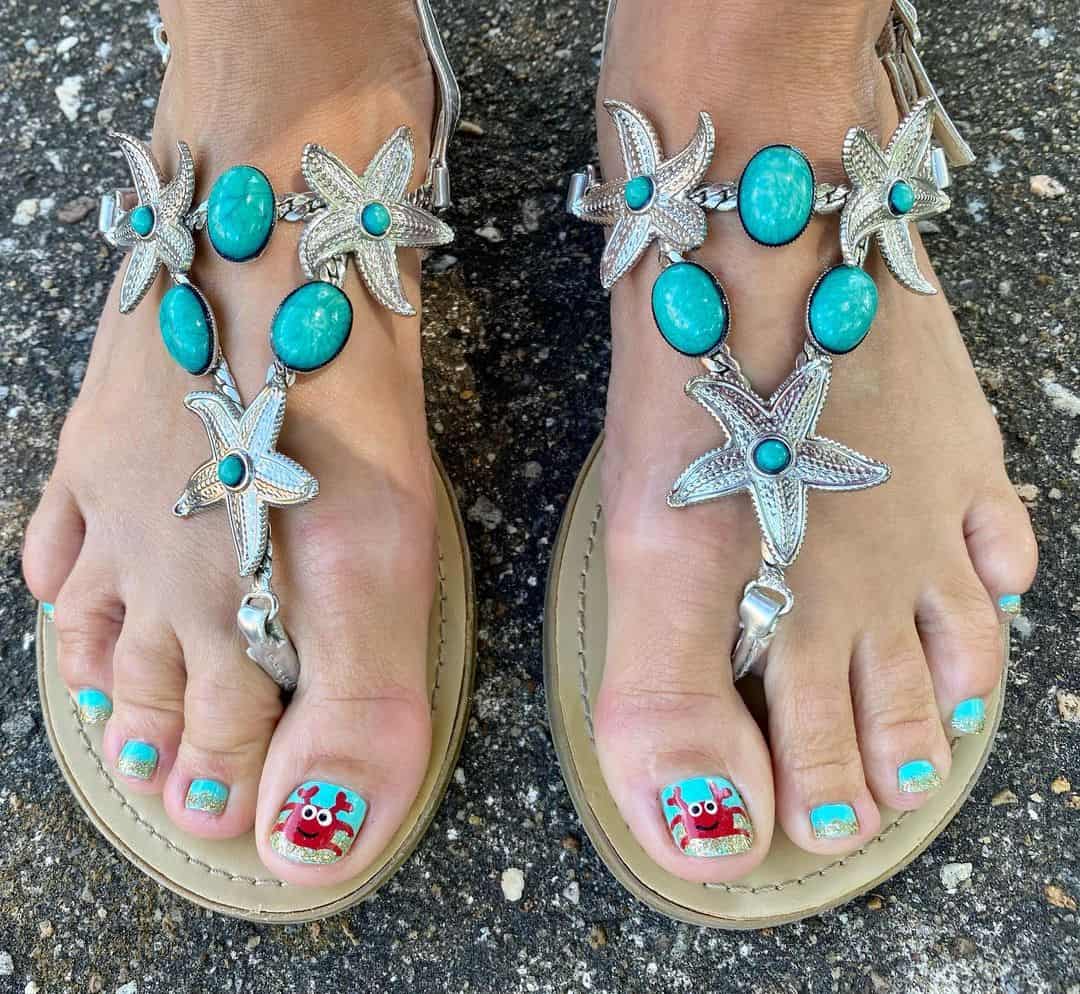
Well, summer is the best time to go to the beach. It is the perfect time to run around bare feet or wear flip-flops or sandals. If you are into going to the beach in the summer, then you need to up your game especially when it comes to toenails.
You need to work on them so perfectly that everyone will recognize them. A neatly-done and polished pedicure is the ideal complement to your fun on the beach. The last thing you want is to be embarrassed by you ugly looking toenails while on the beach.
Whether you are into outstanding colorful designs or bright ideas, this summer toenail art design will be a favorite. In addition to being extremely easy to pull, the design is straightforward and classic. You can do it with pure blacks, nudes, or earthy colors.
Spice your toes with this design and be the talk of the town or rather a beach.
Jelly Nails
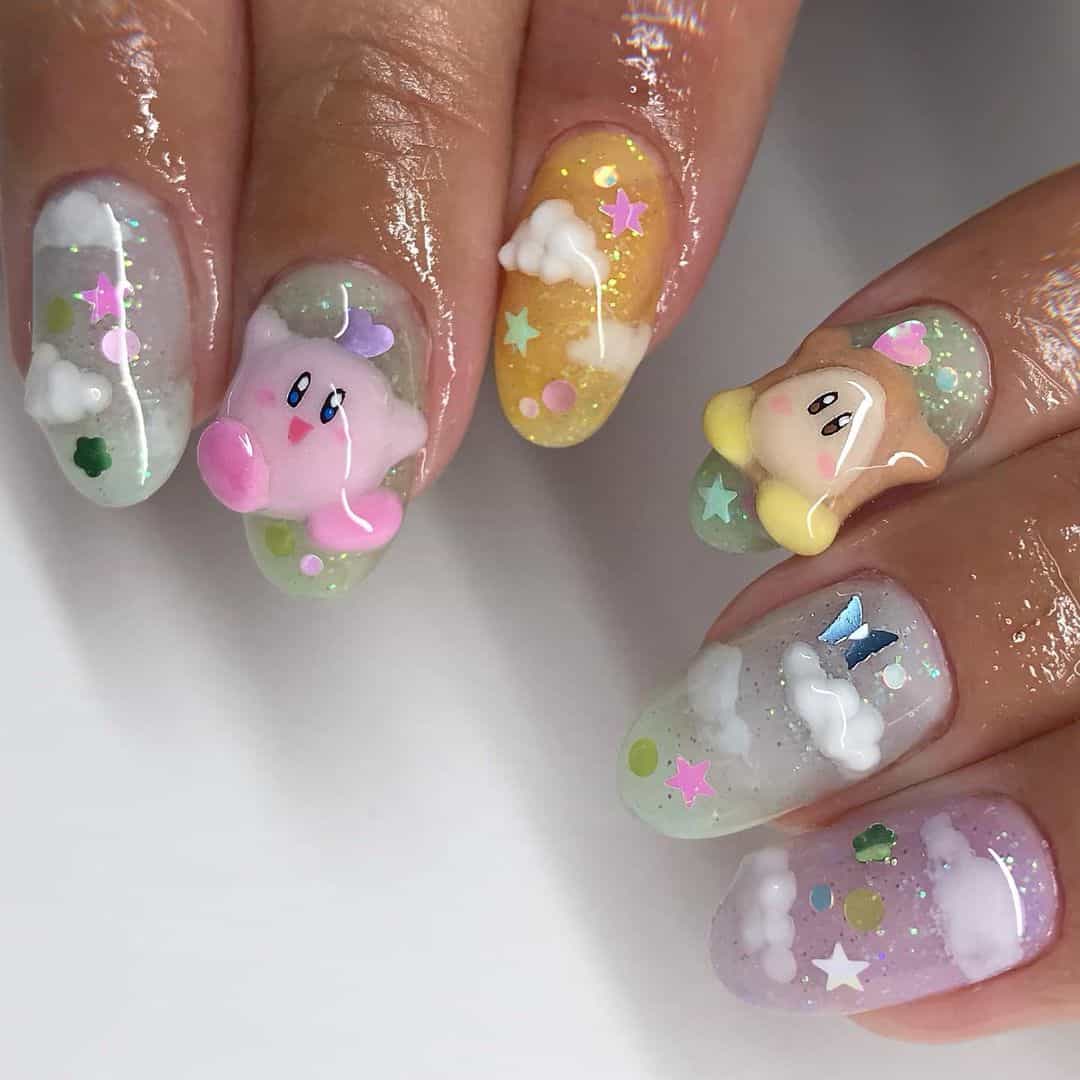
Jelly nails also go by the name glass nails. This is mainly because of its transparency. Some of their shades resemble stained glass especially when light shines via them.
Unlike the normal fake nails, that feature a block of color, these are see-through. You can rock them clearly or opt for the colored option featuring a translucent effect.
Whether your choice is clear or rainbow, sheer or bright, there is something about this design that makes one squish them.
To come up with a jelly nail design, you first need to blend various sheer polish colors for an ombre and rainbow-jelly base. Once you’ve done, you can place several assorted iridescent film ribbons on top. In most cases, you finish this manicure with a topcoat.
Glitters and Gold Nail Art Design
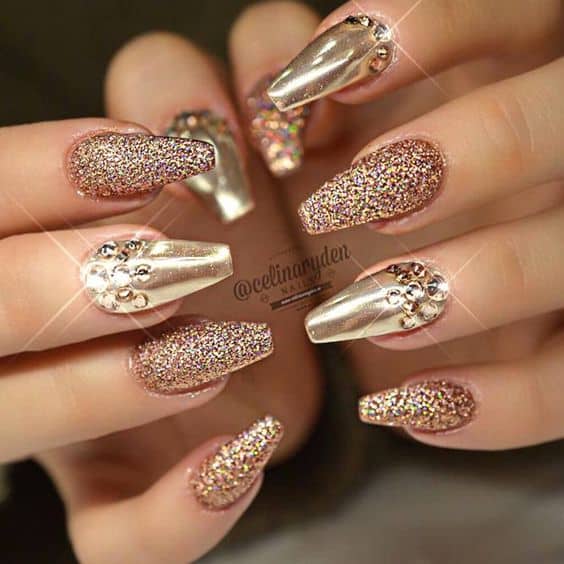
Isn’t gold a stylish and glamorous choice for many things including your nails? Its versatile nature means you can wear it with any color or even design. In addition to that, nail art designs that feature gold can be rocked to suit any occasion.
With plenty of ideals available, choosing your next nail art design featuring golds can be tricky. That is why I decided to point you in the direction of the glitters and gold nail art design for the beach. I’ve helped you narrow down to this one having realized its magical nature particularly when out on a vacation.
This one is among the glitter designs finding their way back in the fashion sphere. While they had disappeared for a while in the last decade, it is now becoming the new craze. Of the different variations available, girls prefer the dazzling and sizzling bold looks.
If you are into contemporary and trendy fashion statements when it comes to nail art designs, nothing beats this acrylic nail design for the summer. All confident and bold girls should try the glitters and gold nail art design.
Beach Vibed Pearl Design
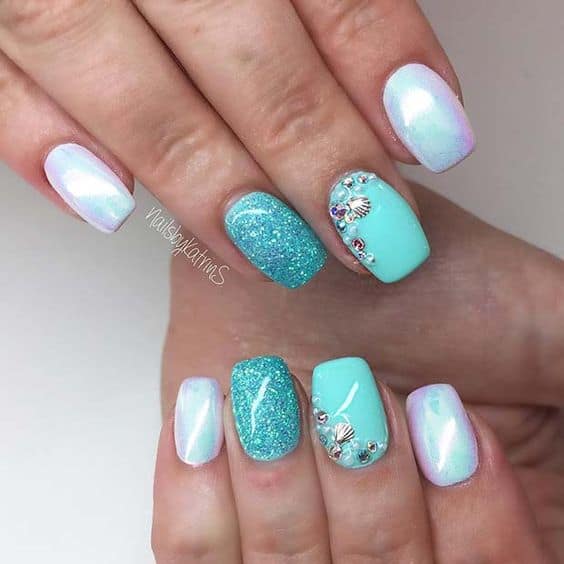
In this age of flares and earthy tones, we regularly forget or overlook the ever-stylish pearl shaded nail art design. It’s quite sad! This simple, timeless, and beautiful design will give you nothing short of the most vintage look for the beach.
The best attribute is the fact that they remain neutral while at the same time providing you the most straightforward and easiest look. If you have short nails, you should consider sporting this nail art design the next time you are out on the beach.
If you want to look and feel special the next time you’re on the beach, you should consider rocking the beach vibed pearl design nail art.
70s Ombres and Flares
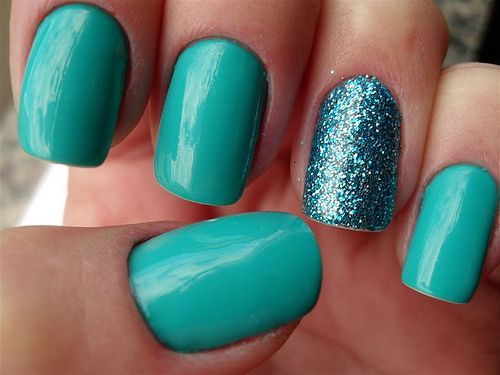
Ombre nails never go out of fashion. There is no doubt about that. If you are looking for a great way to rock 70’s ombres and flares, you should try them the next time you head to the beach for a vacation.
Whether you do them with a mixture of colors featuring various nails or a transition of colors, one thing is for sure – you will be the talk of the town. This nail art design is one of those that help you steal the attention of everyone around you.
With the summer’s gorgeous sun gazes, the ombres and flares nail design that feature pastels, lavenders, pinks, whites, and baby blues will certainly remain timeless for ages to come.
Having stood the test of time, there is no indication yet that they are fading away in terms of making a fashion statement when on the beach. Indeed, this design is a must-try for every girl planning for a beach vacation.
They are a great option if you have long nails.
Beach Vacation Special
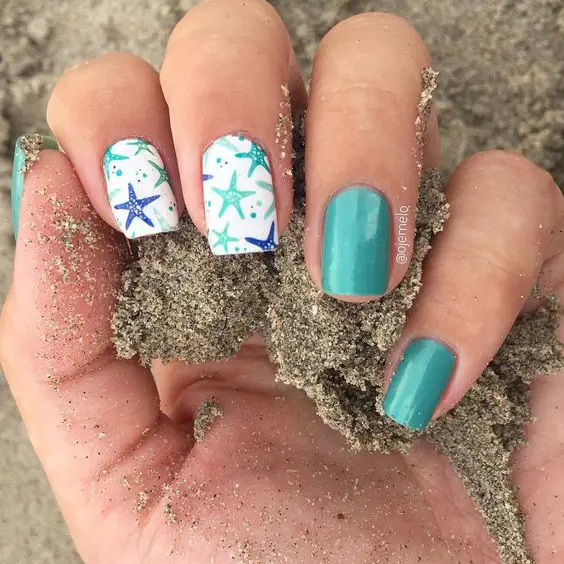
One of the most common activities for the summer is beach vacations. Despite the heat and humidity, beach vacations and places stand out as the hottest option especially when it comes to the new-millennium generation. The last thing you want is to overlook your nail arts when going to the beach.
With the beach vacation special nail art design, you can flaunt your summer-ready looks. This beach-inspired summer nail art design will set you apart from fellow vacationers. That is for sure.
From water-inspired designs to sandstones, you can rest assured that this nail art design will be a great inspiration for your upcoming beach vacation.
Simple Squares Nail Art Design
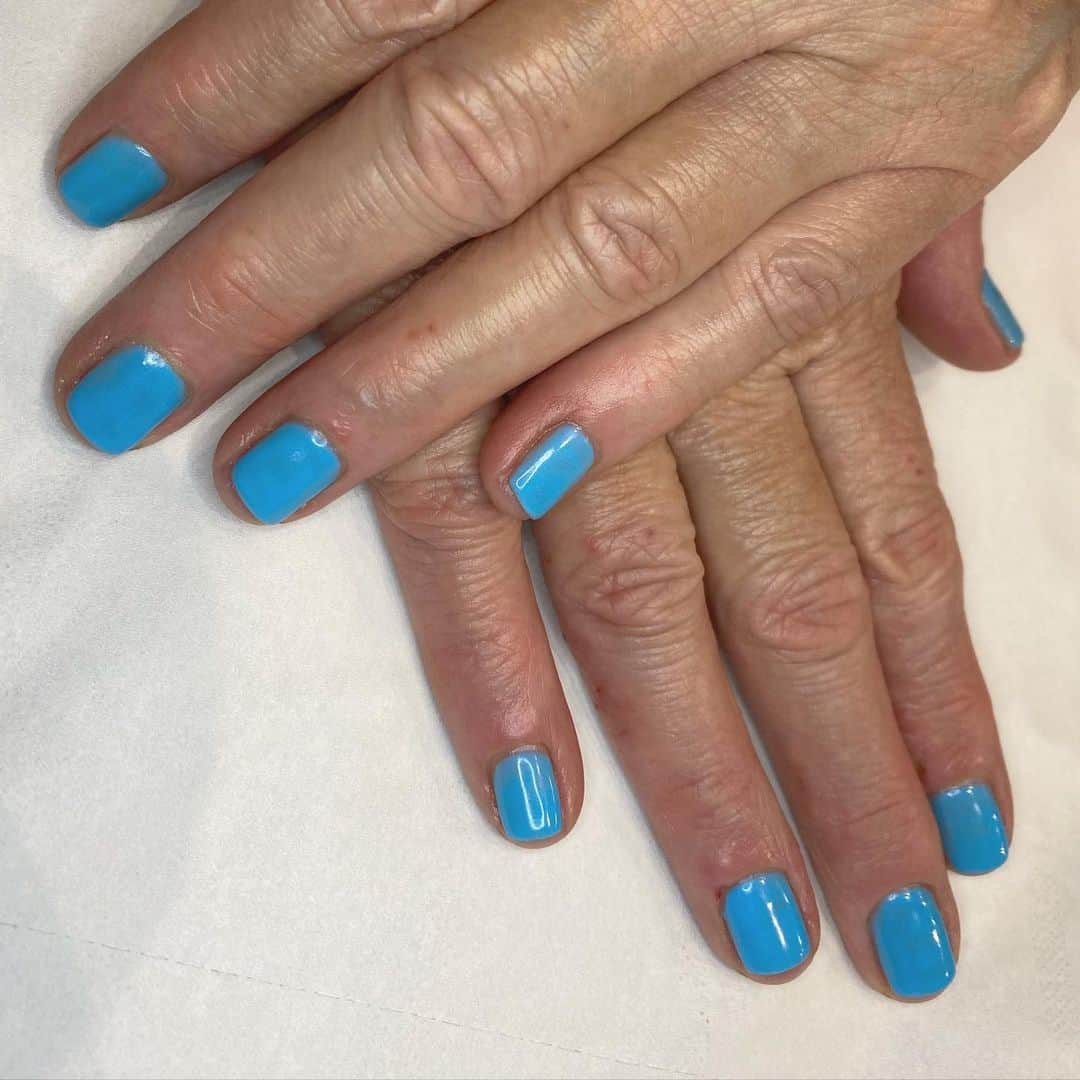
This nail art design for your beach vacation creates a seriously chic look that is out of this world. Best of all, you don’t need the help of a nail professional to create it. You can do it at home with only the assistance of a tape.
When coming up with this design, you should consider employing two various shades of a similar color to achieve a coordinated, yet attractive and creative look.

