SIX UNIQUE THINGS TO DO WITH CARDBOARD LETTERS
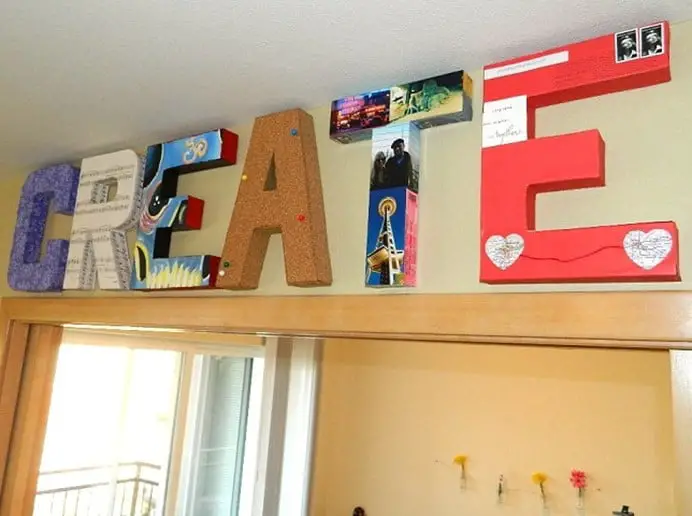
I was first inspired to do this project when I came across these large cork board covered letters from Urban Outfitters. I knew right away that I would be able to replicate something very similar on my own, but only doing cork board letters seemed too plain for the space that I wanted to put mine. I sketched out the word ‘CREATE’ and started brainstorming.
Not only was I able to recycle a lot of the materials I already had to make these, but I have a unique piece of art to inspire me to create more and more each day. I put together a tutorial for each letter so you can choose to read through the entire post to see them all, or click the link to the letter you would like to see to take you to that point. Keep reading to get started : )
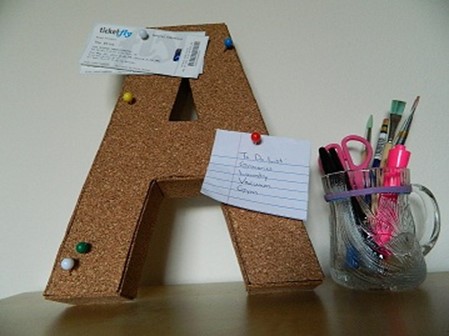
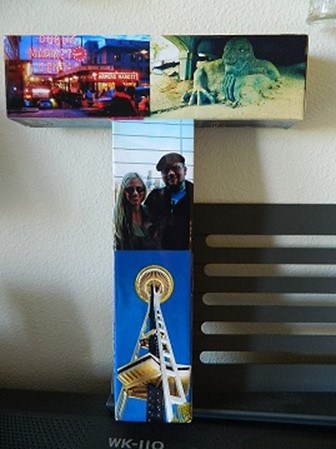
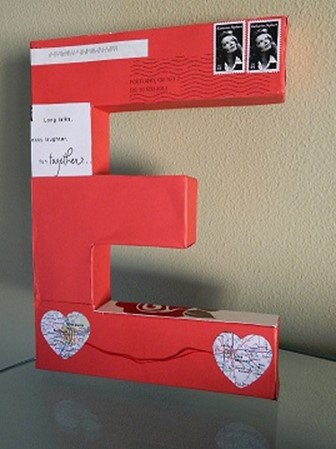
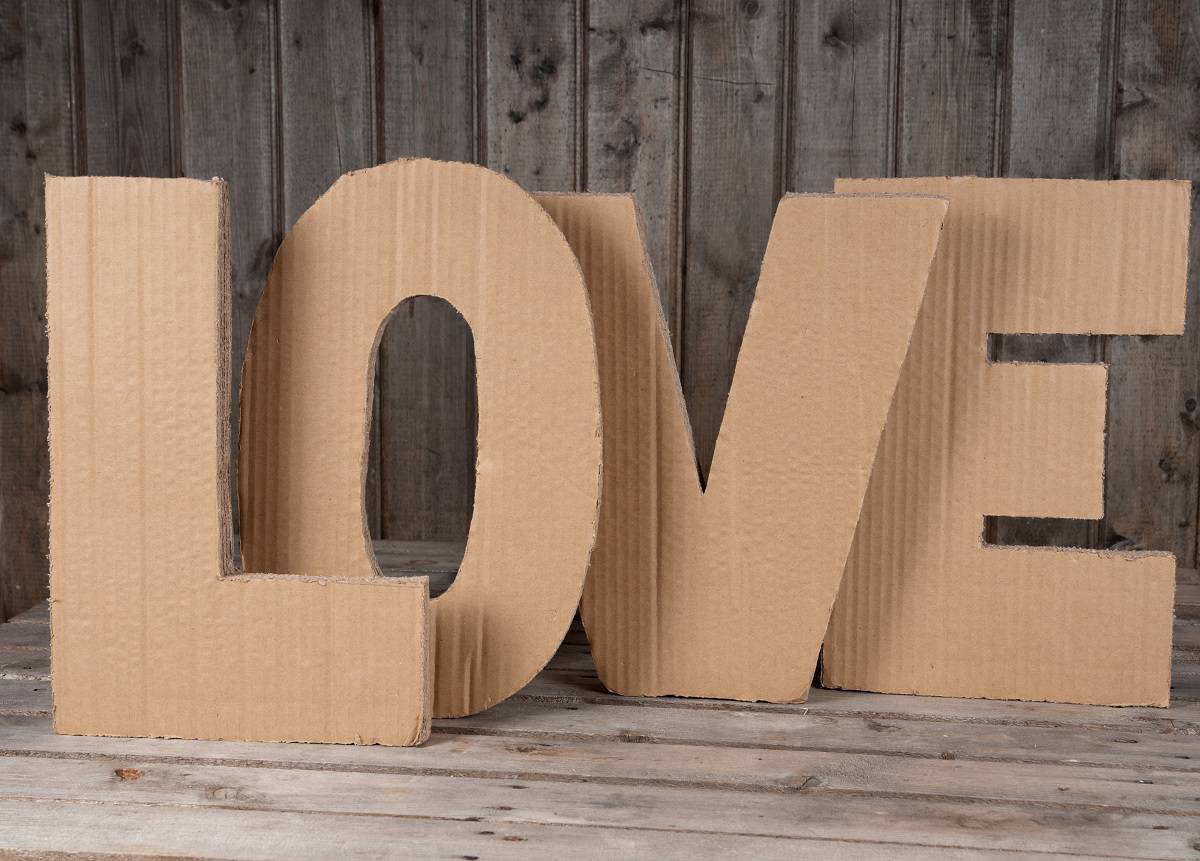
-Letters were purchased at Jo-Ann’s craft store for $2.99 each. I used 12″ tall letters but they come in several different sizes.-
Letter C
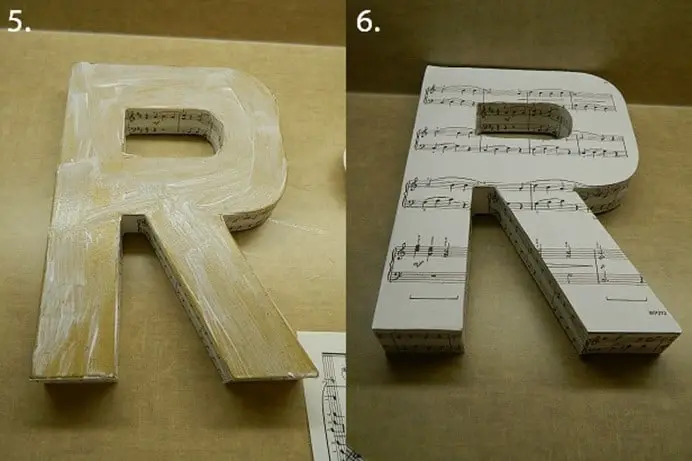
My inspiration for each of these letters came from our daily life and what we love. First up is sewing! Don’t worry, I’m not going to make you stitch fabric onto a cardboard letter!
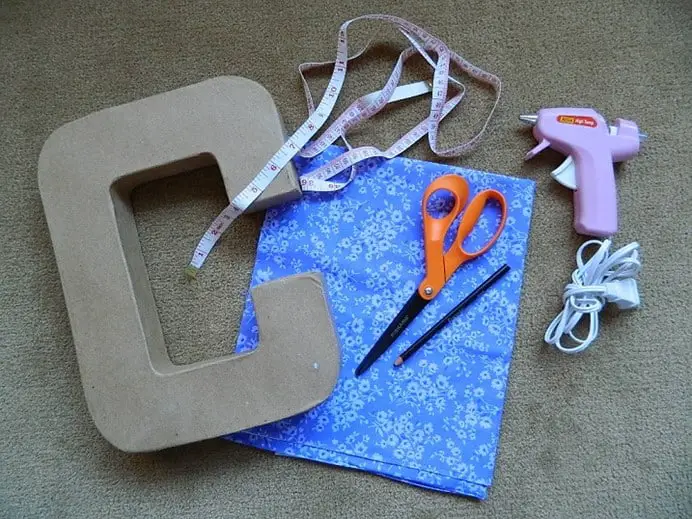
Supplies:
Cardboard Letter(s)
½ yard of fabric (can be all one fabric or you could use different colors and patterns for a “quilt” look)
Measuring Tape
Scissors
Pencil
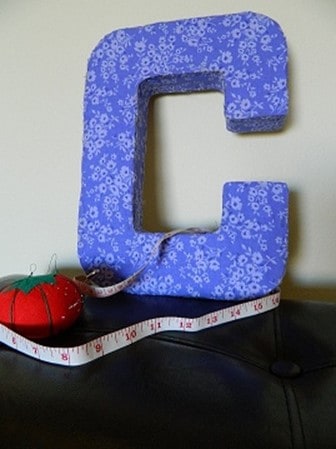
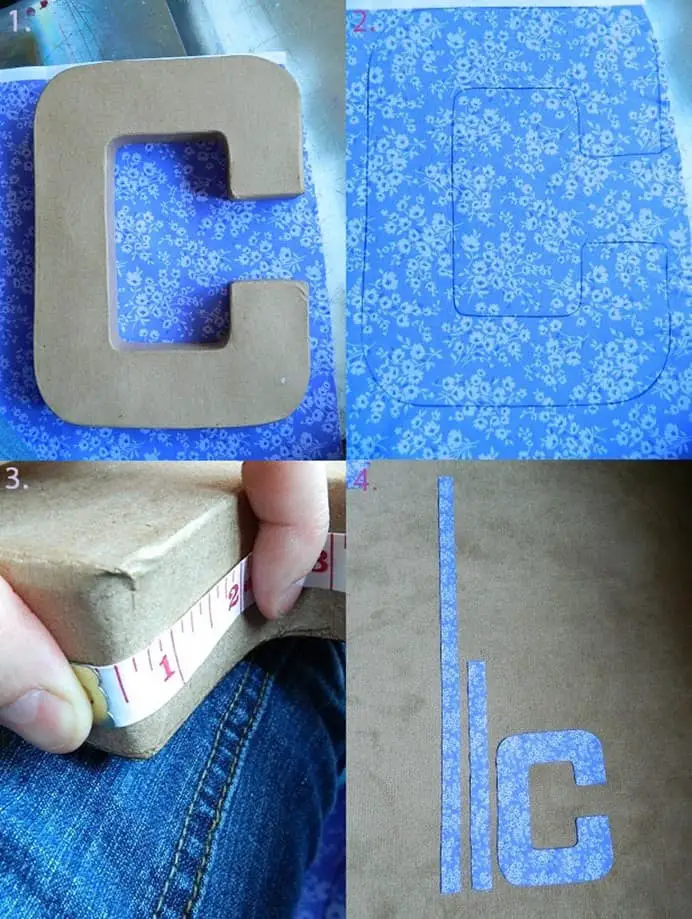
Start by tracing your letter on top of the fabric. Next measure the sides and ends of your letter and cut out fabric pieces. Always measure about a half inch extra. It’s easier to snip off extra fabric than if you run out and have to make patches for any cardboard that’s still showing.
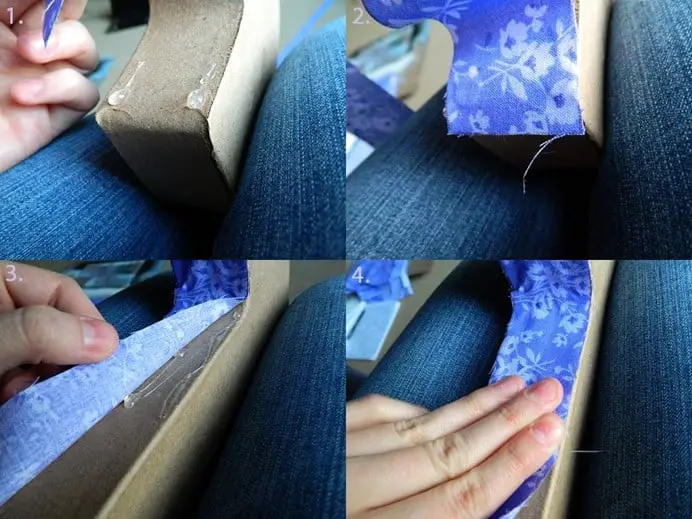
Start by gluing the side pieces on first. Place a few dabs or lines of glue on the edges of the letter and press fabric down. Continue until the entire strip of fabric is glued on. The same goes for the face of the letter. Put a small line of glue on each side and place fabric on top. Lightly press for 10 seconds.
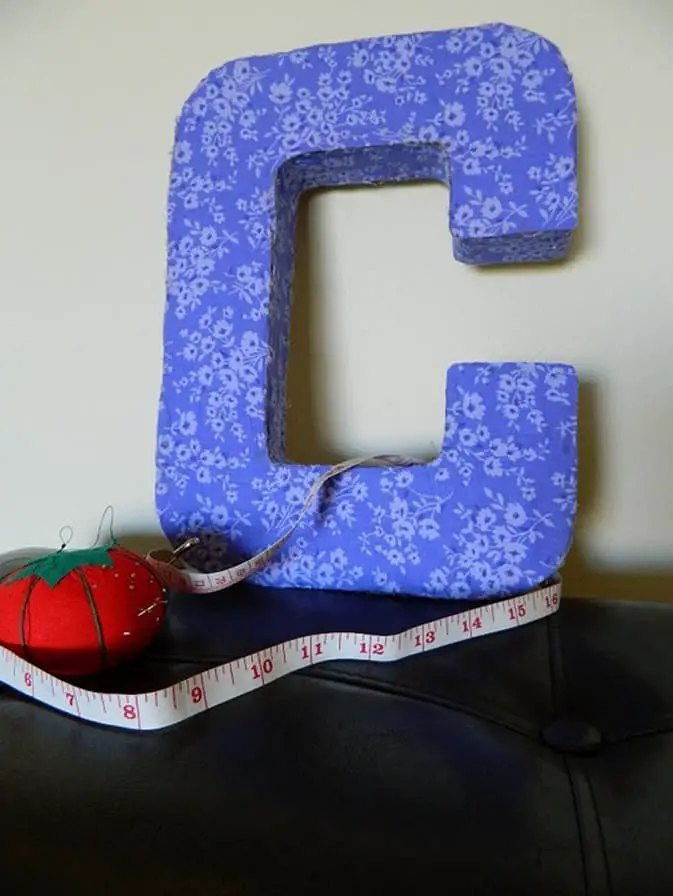
Snip off any extra fabric or frayed ends and you’re finished!
Letter R
I recently showed you how to make you own Lyric Wall Art
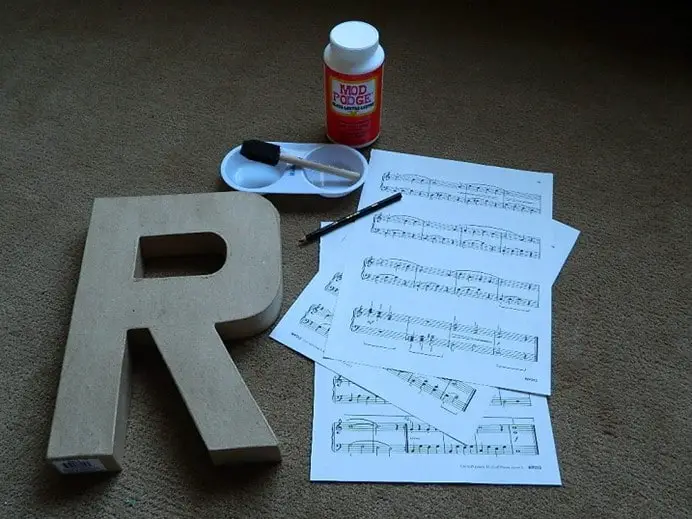
using old sheet music. Essentially we’re doing the very same only with a cardboard letter instead of canvas! Since I wanted my letters displayed above our den where I keep my keyboard I thought sheet music would be perfect!
Supplies:
Cardboard letter(s)
Sheet Music – at least 3 pages
Small paint brush or foam brush
Measuring tape
Scissors
Pencil
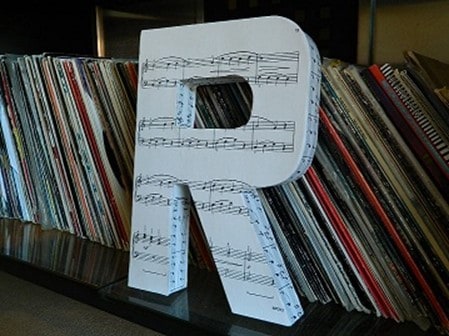
Trace your letter on top of the sheet music. Measure sides and ends and cut out pieces to fit. Brush a light layer of Mod Podge on the back of the sheet music piece, then carefully place onto the cardboard letter. Using your fingers, lightly press down to smooth out any bumps or air bubbles.
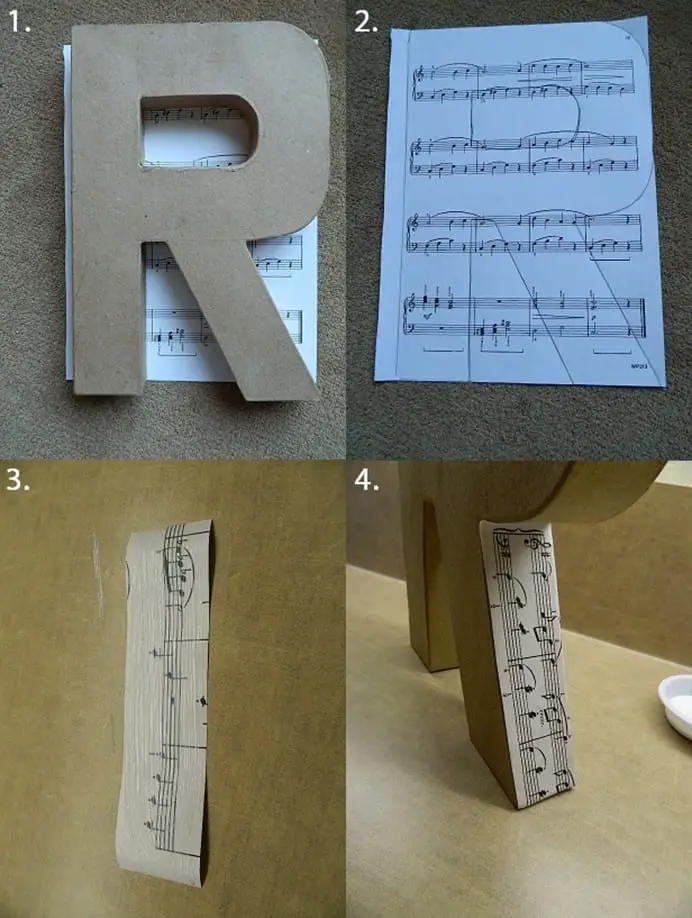
Repeat with remaining pieces.
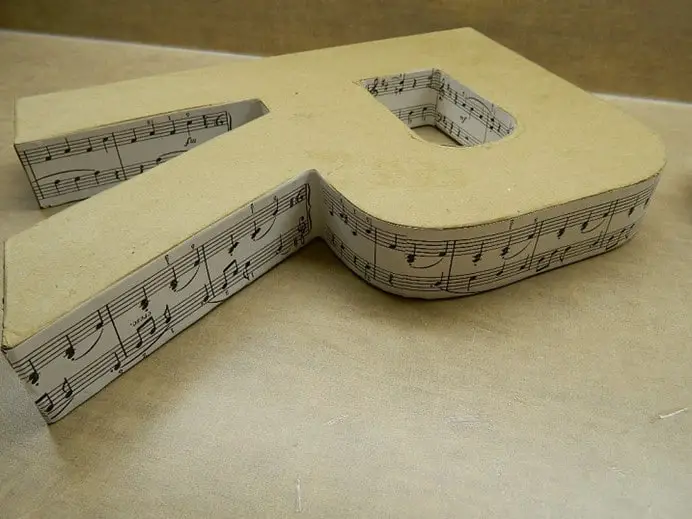
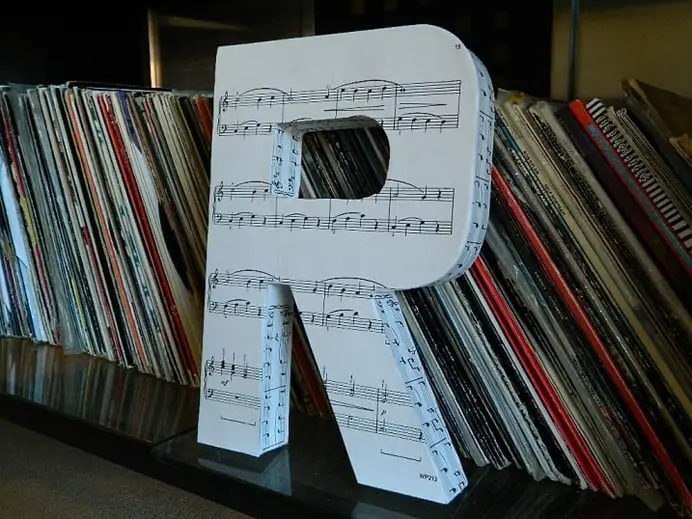
For the face of the letter you can brush a layer of Mod Podge directly onto the letter. Slowly place the cut out on top and smooth out any bumps. Let dry for 45 minutes.
Makes the perfect addition to a music room or record collection!
Letter E
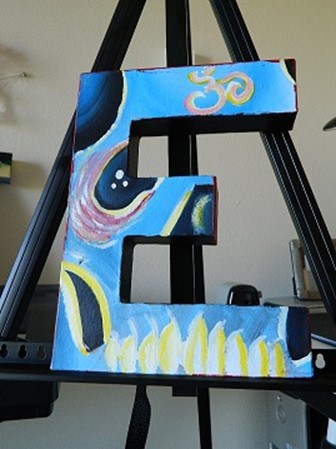
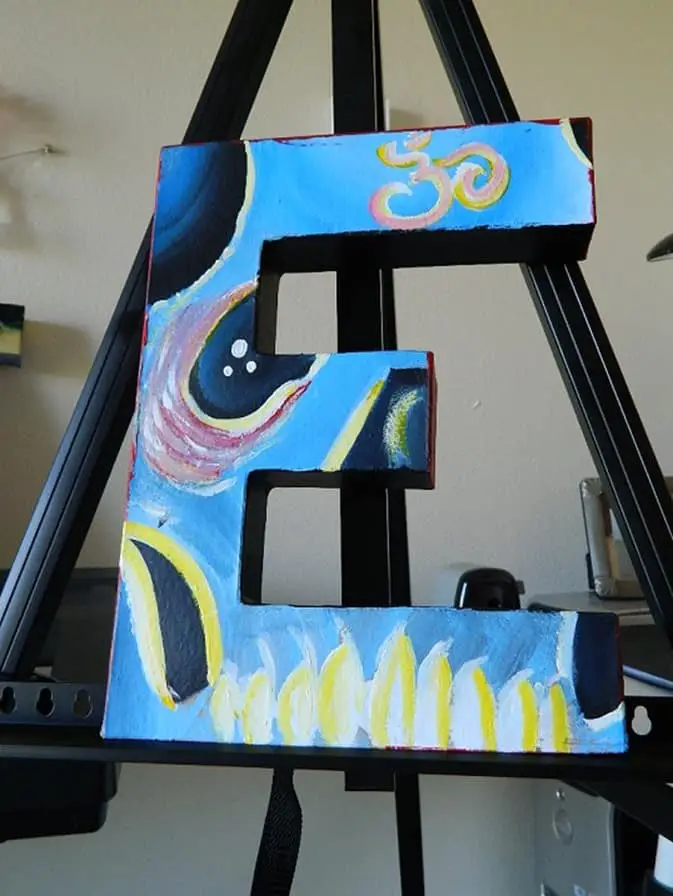
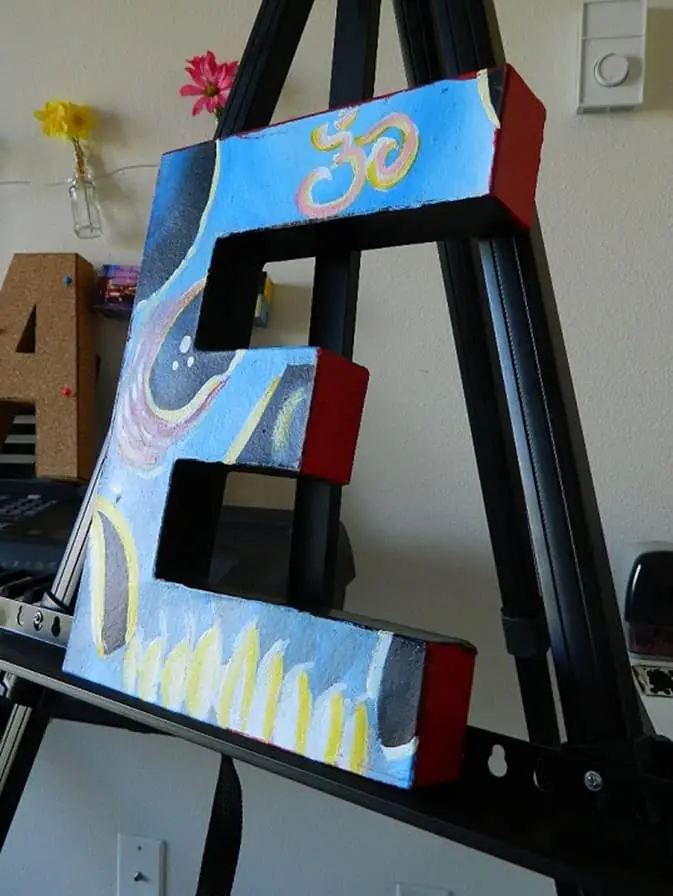
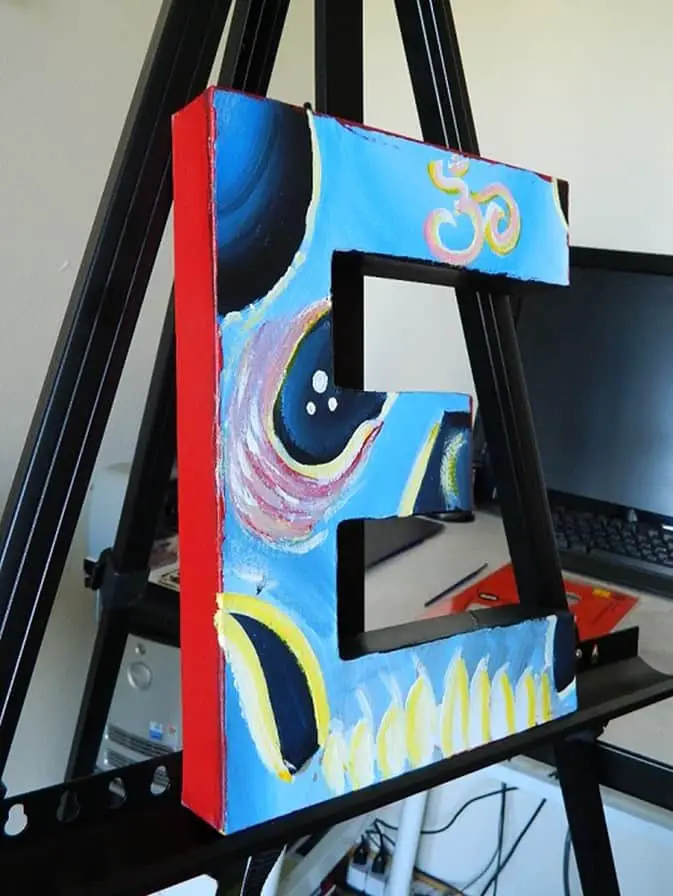
As I’ve stated before, I’m not much of a painter and I wanted Josh to be a part of this project as well, so I let him do this one. If you’re like me, there are a few different options you can do. First up, splatter paint! This is my go-to paint move since I’m lacking in painting skills and it’s a fun way to get it done! I would suggest a base coat by spray painting the letter white before so your colors show up better. Pour out several different colors of acrylic paint and either using your hand or a brush, start slinging paint at your letter! It will give it a really fun haphazard kind of look. Another option is to let your children, niece, nephew, cousin, etc.. finger paint the letter. What an awesome way to involve them in the project and display their artwork for years to come!
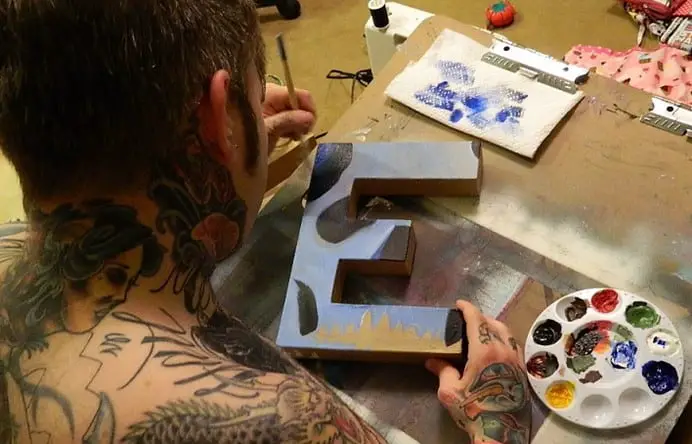
Supplies:
Cardboard letter(s)
Acrylic paints
Paint brush
Spray paint (optional)
Give your paint about an hour to dry before hanging or displaying your letter.
Letter A
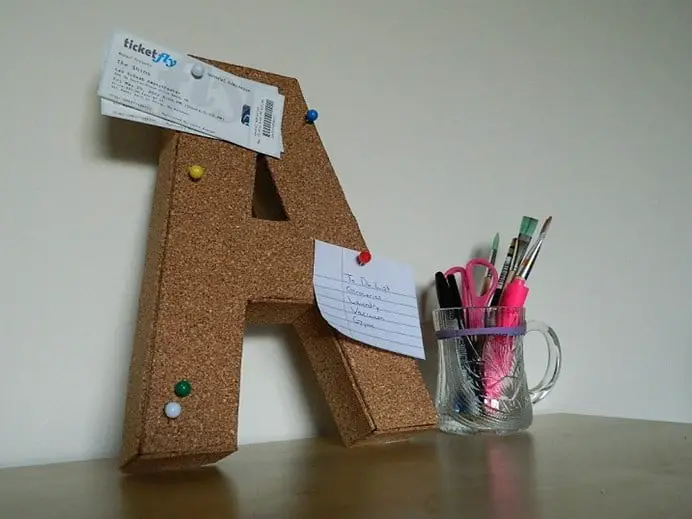
The idea that inspired the rest of this project! I already had a roll of corkboard (2ft by 4ft) from a bulletin board I had created a couple months ago and I still have leftover even after making this project!
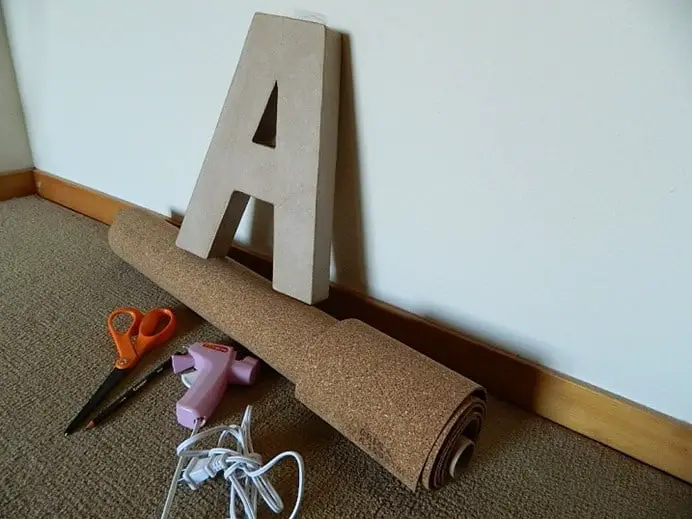
Supplies:
Cardboard letter(s)
Corkboard roll or tiles
Hot glue gun
Measuring tape
Scissors
Pen or pencil
Trace out letter on top of your corkboard. Measure sides and ends and cut out all pieces. Place a few lines of glue around the edges on the side of the letter and place fit piece of corkboard on top. Lightly press down.
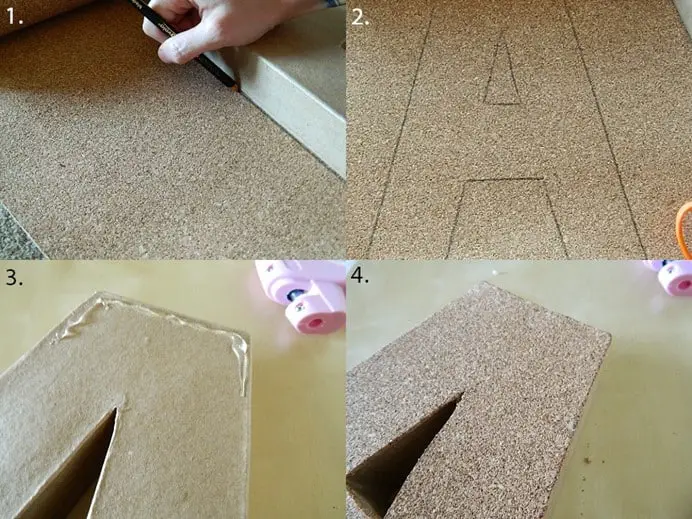
Continue until all pieces are glued on.
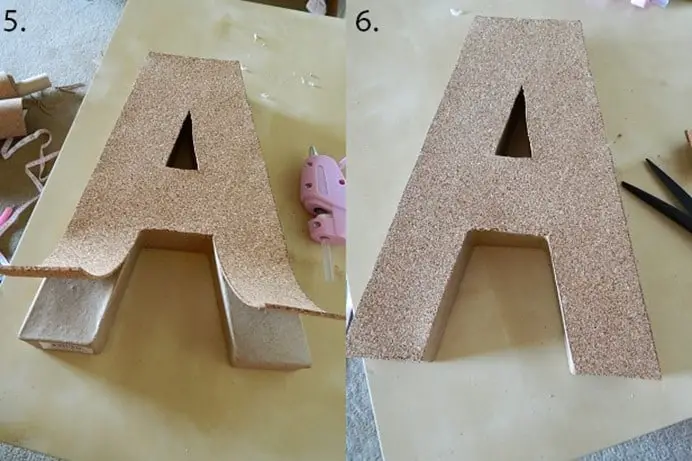
This makes a great piece to hang or display in your workspace or office!
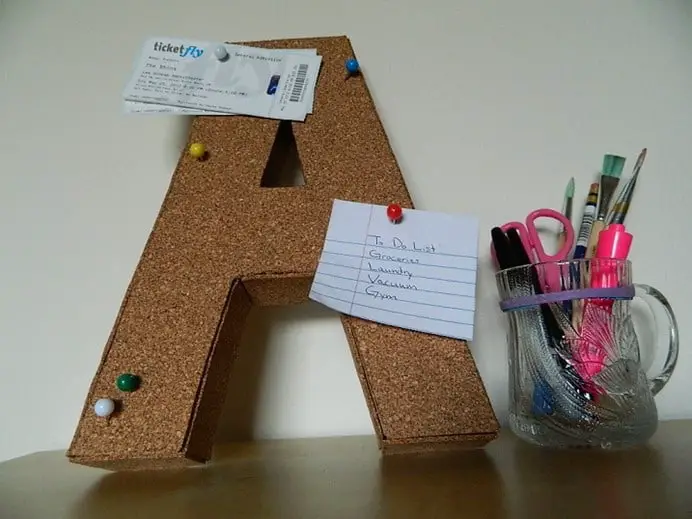
Letter T
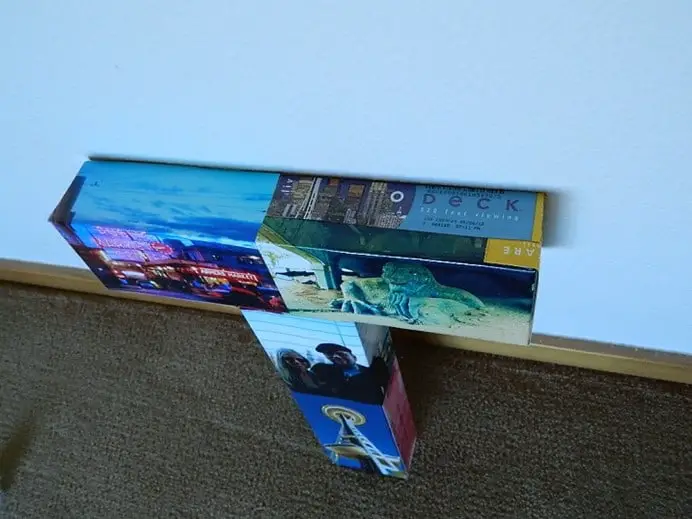
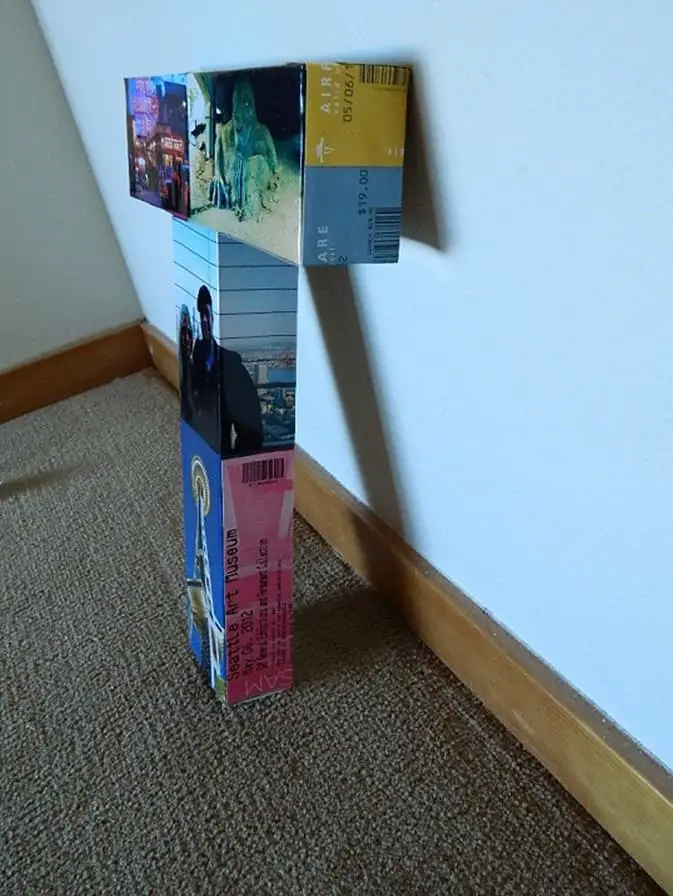
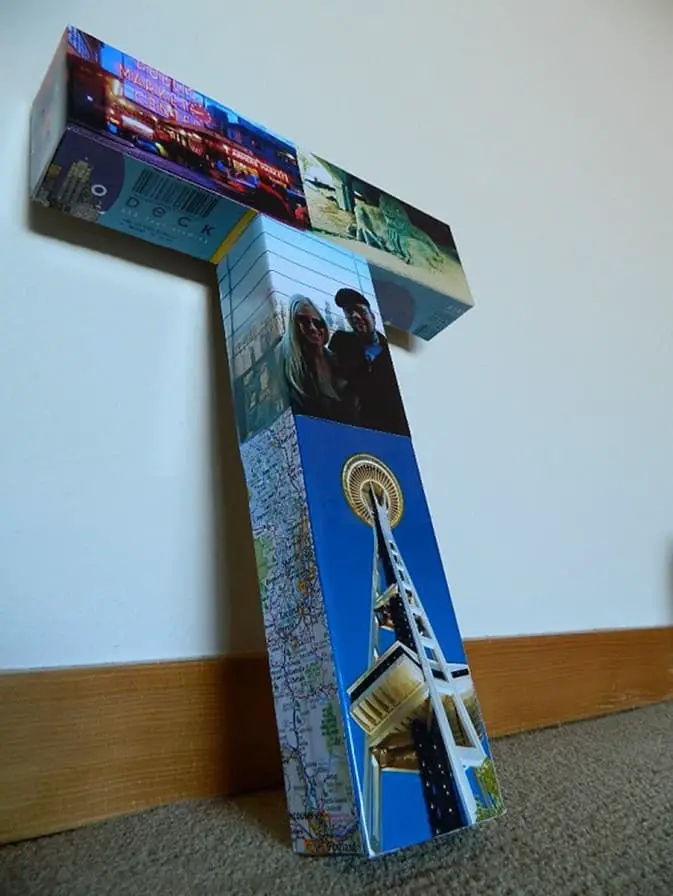
I originally reserved this letter just to display my favorite pictures, but once I set aside the photos I wanted to use, I realized most were from our road trip to Seattle this past May. The “T” ended up representing travel, so it worked perfectly! I dug up our tickets to the Space Needle and the Seattle Art Museum to add to the “scrapbook” feel of this letter.
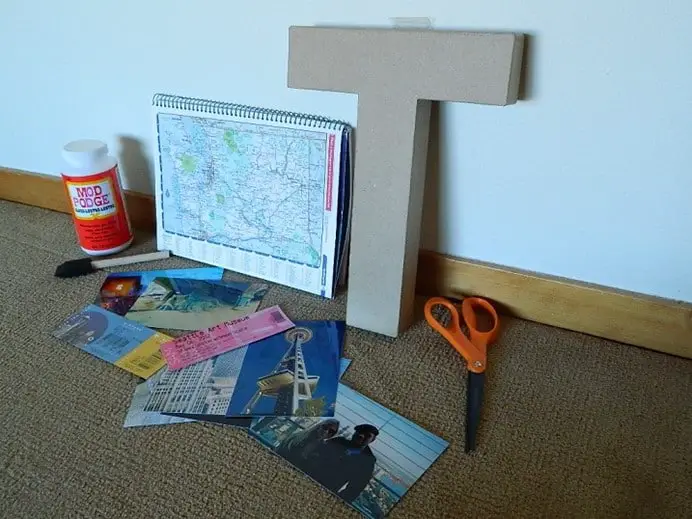
Supplies:
Cardboard letter(s)
Photographs, tickets, boarding passes, maps, etc
Mod Podge
Small paint brush or foam brush
Measuring tape
Scissors
Start by folding your photos over the letter and making creases on the edges. Make sure the part of your image you want seen will be on the flat front surface of your letter. Since we’re doing this collage style, don’t worry about the edges until the end. Make cuts in the photos where you need to so they fit over the corners.
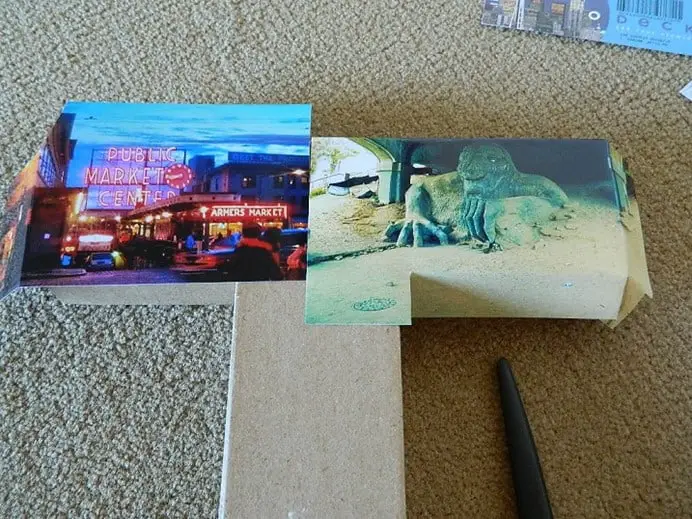
Spread a thin layer of Mod Podge on the backside of the photo and place back on the letter. Press firmly for 30-45 seconds.
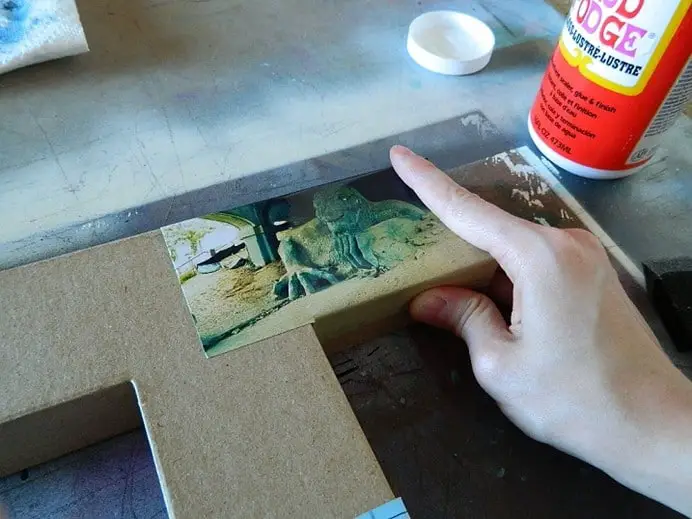
Once you have the face of your letter covered, cut out other photos, ticket stubs, etc to fit around the sides. Let dry for 45 minutes to an hour before hanging.
Letter E
The last letter will be about a meaningful relationship in your life. Parent, child, sibling, or significant other. You can use photos, notes, cards, or keepsakes that you’ve received from your loved one.
Josh and I are both from Des Moines, Iowa but we didn’t start dating until after I moved to Portland. Since we were in a long distance relationship right from the start we have a lot of cards and letters that we sent back and forth during those 6 months. We’re old fashioned ; ) I thought it would be fun to use some of those for my last letter so we always have a reminder of how we started, what we overcame, and our hometown!
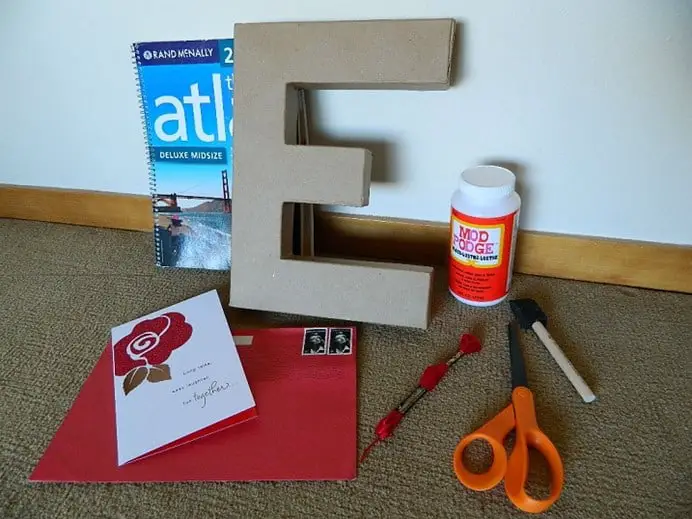
Supplies:
Cardboard letter(s)
Photos, cards, letters, notes, etc..
Mod Podge
Small paint brush or foam brush
Scissors
-For mine I also used embroidery
ADVERTISEMENT
thread and an atlas to cut out heart shapes of Portland and Des Moines.-
Fit your cards, letters, or photos over your letter and crease around the edges. Make cuts where you need to so they fit over the corners. Spread a thin layer of Mod Podge on the backside and carefully place onto the letter. Run you finger over it to smooth out bumps and wrinkles.
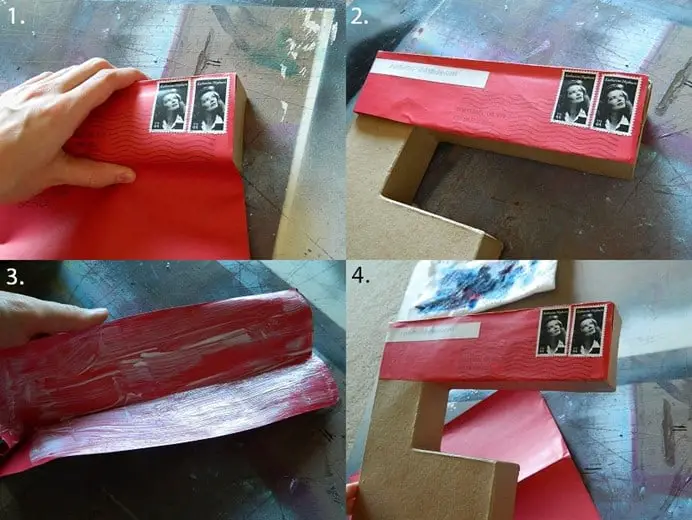
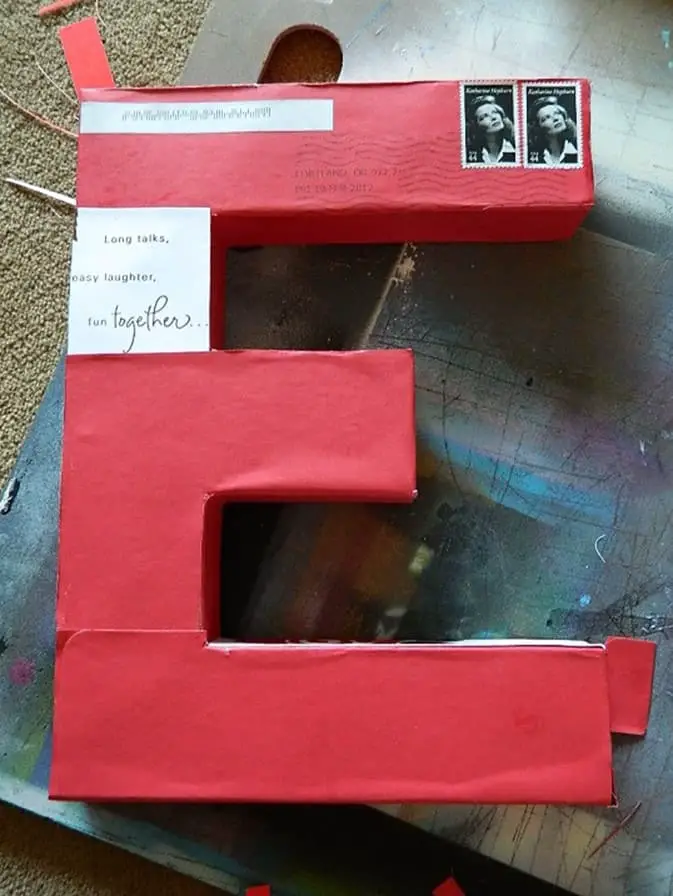
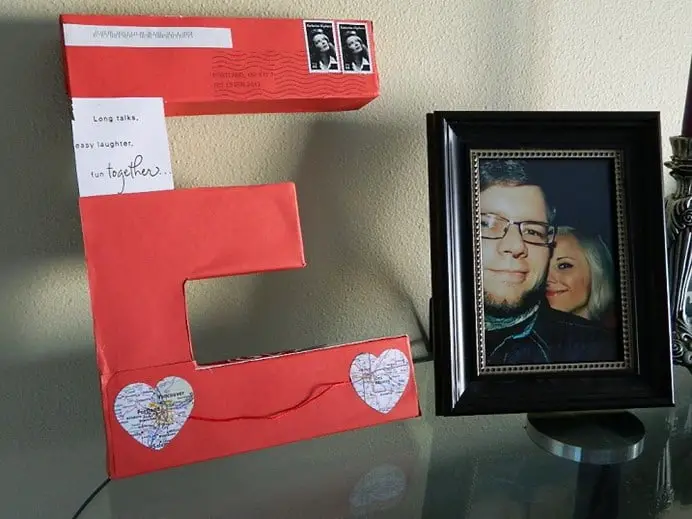
I used the envelope and one of our Valentine’s Day cards to make the letter look like a piece of mail itself : )
I didn’t have a heart stencil so I just used a necklace of mine to trace around for the heart shaped cut out of Des Moines and Portland. I cut a piece of embroidery thread off and placed underneath the two hearts before I used Mod Podge to stick them down.
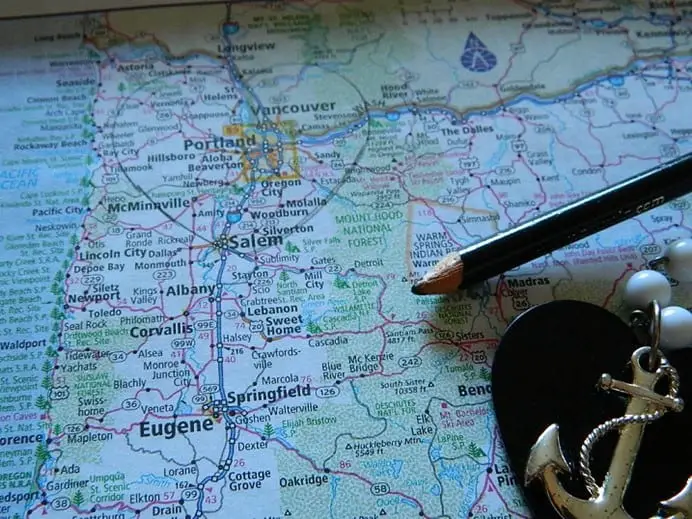
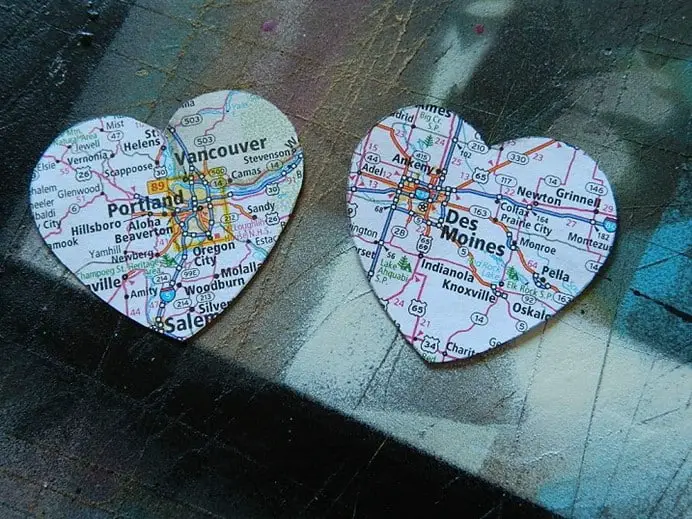
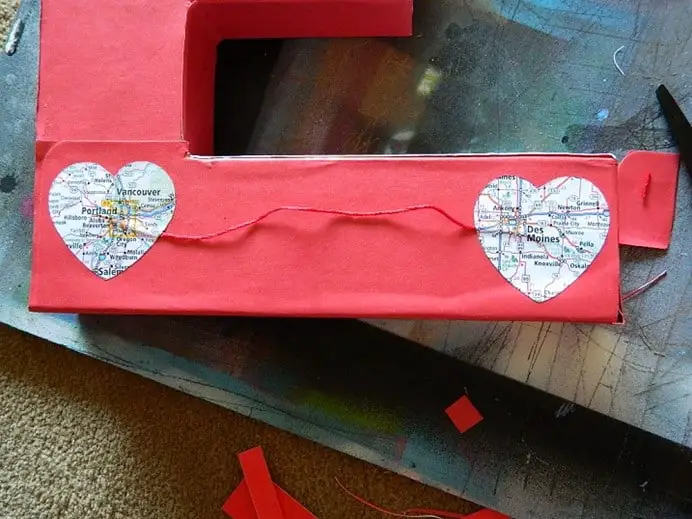
Let dry for 45 minutes to an hour and you’re done! This would make a great monogram gift for your loved one!
I hope you guys have as much fun as I did putting this project together : ) Let me know which version YOU chose to try out!
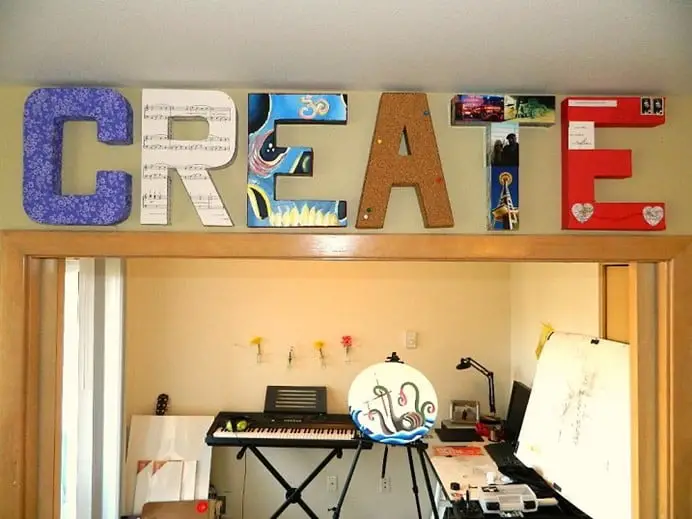
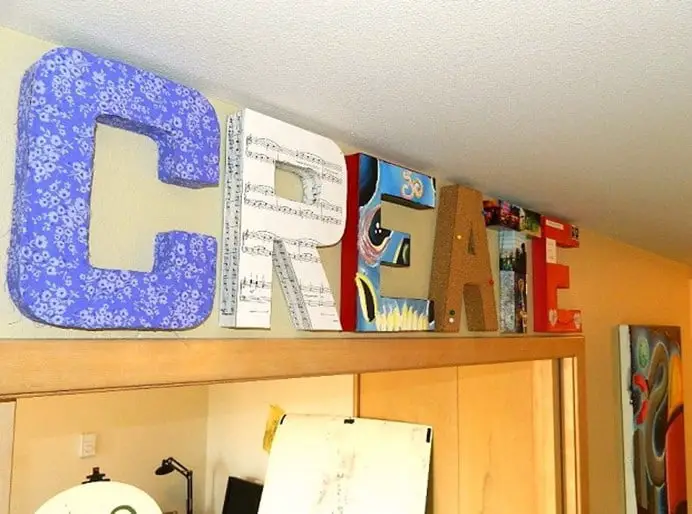
Thanks for stopping by! : )

